Wednesday, March 31, 2010

2010, Cordwood begins. Earth roofs thrive.

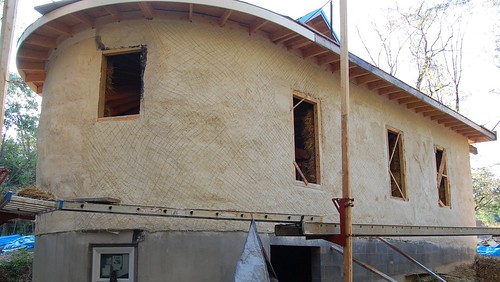
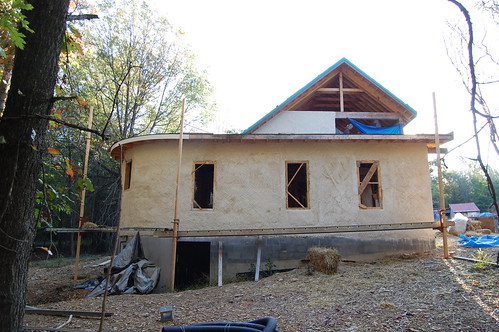
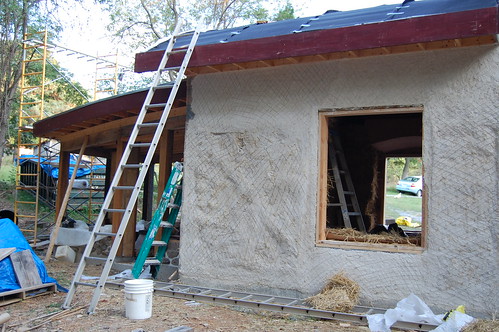
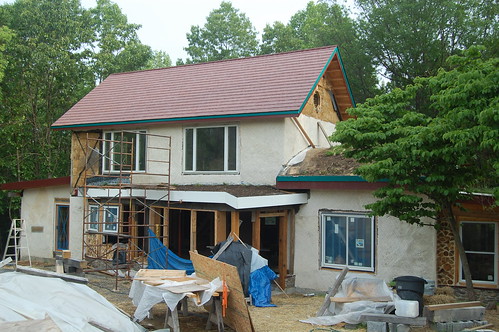
Above is a wall with the windows trimmed and a second coat of lime plaster applied. In this layer of plaster, we used finer sand to make a smoother coat, and added some red clay to make the wall a cinnamon-like color. (To see a 'before' picture, look two photos down. This same wall is on the right with no wood trim, and the plaster is bright white.)


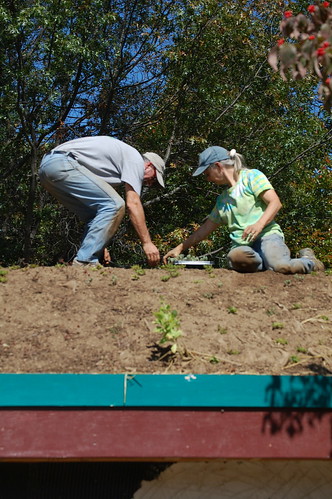
Above and below: early May 2010 with earth roofs in bloom and more windows in:
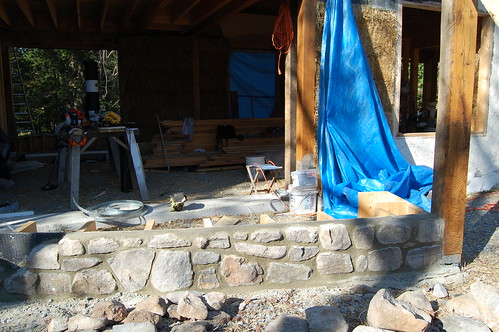
We expected warmer weather in March as we began to build the cordwood walls. Temperatures started in the 70s, but dropped into the 20s at night. First, a couple shots of Cordwood.

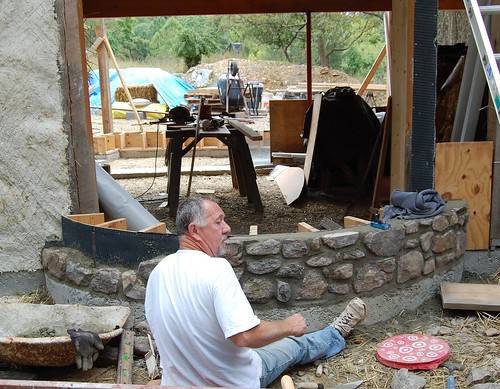
Here is the first finished wall with a window.
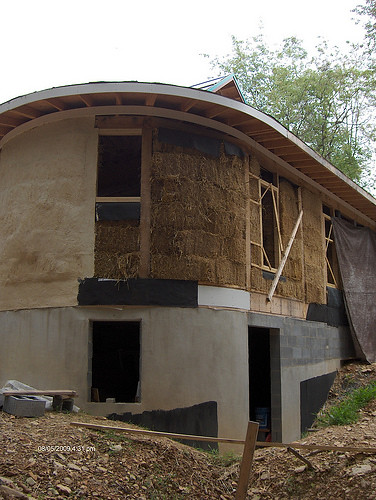
First (rough) coat of lime plaster on straw is at left.
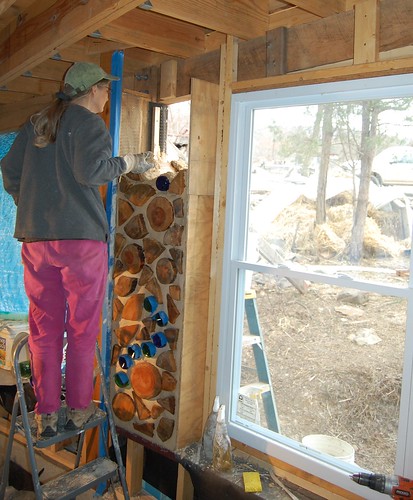

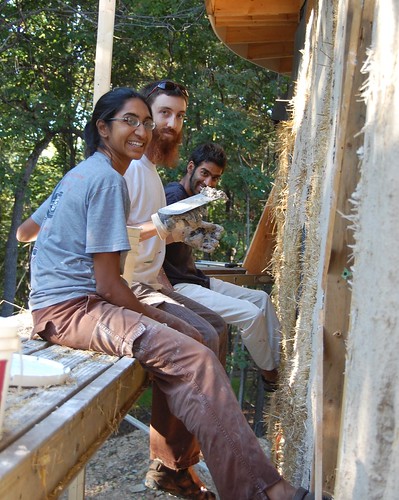
Linda builds the wall.
The window is from a Habitat for Humanity resale store, where surplus windows are sold for bargain prices. Bottles are for decoration and let in beautiful light.
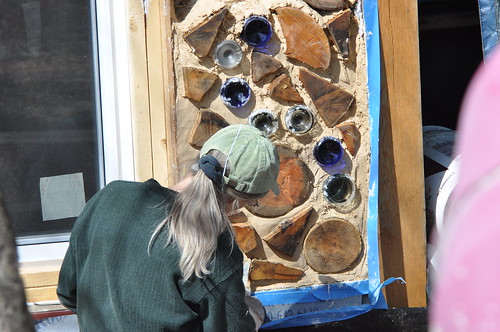


Above, Linda rough points the wall.


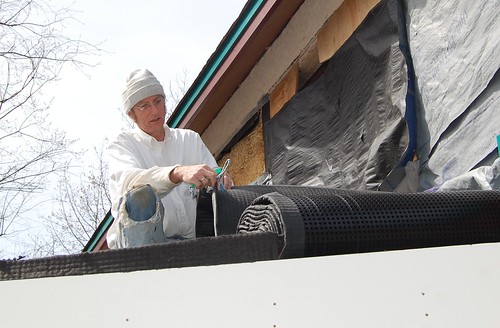
Scot places drainage layer on the entry roof. Next, we'll place some soil!
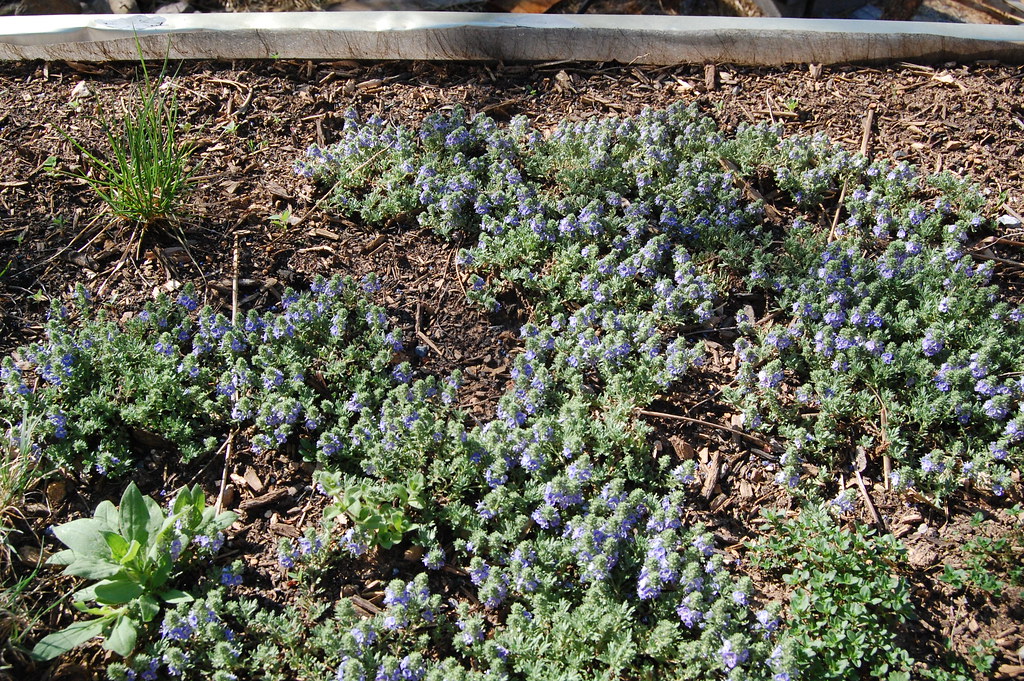

Above are some flowering plants on the guest room roof.


We have purple, orange and white flowers on the guest room roof.

Sedums on the barrel roof.

The following photos are from summer 2010:
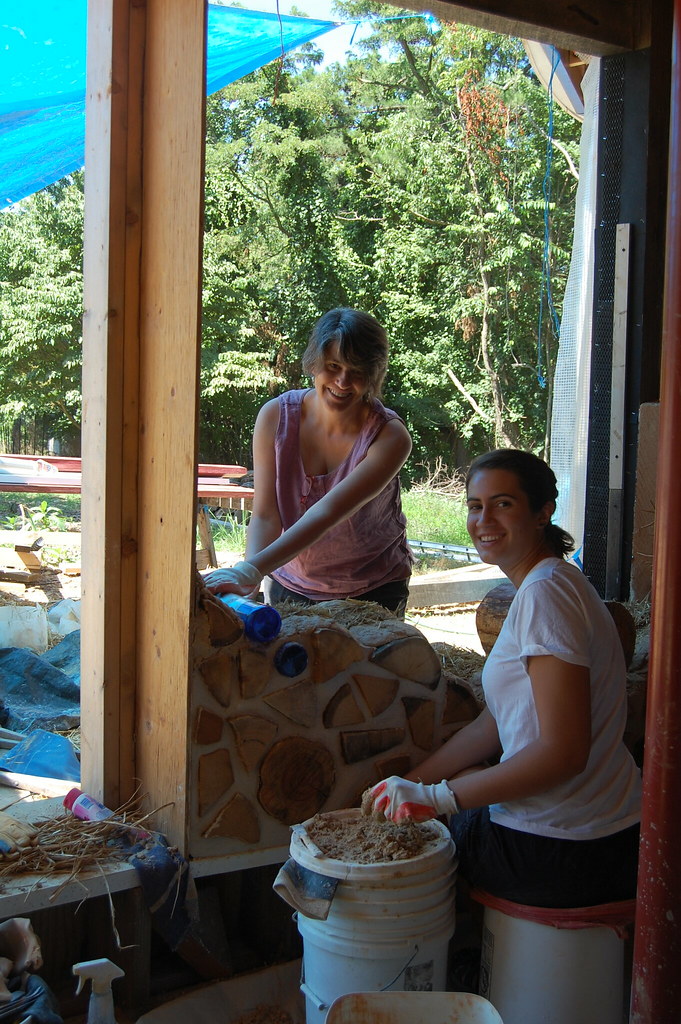


Paola and Renata work on cordwood.


Above, kitchen cordwood, July 2010.

Above, note the improvement from March: window trim on right, new windows in front, more cordwood on the left, and plaster on the right has clay coloring added.
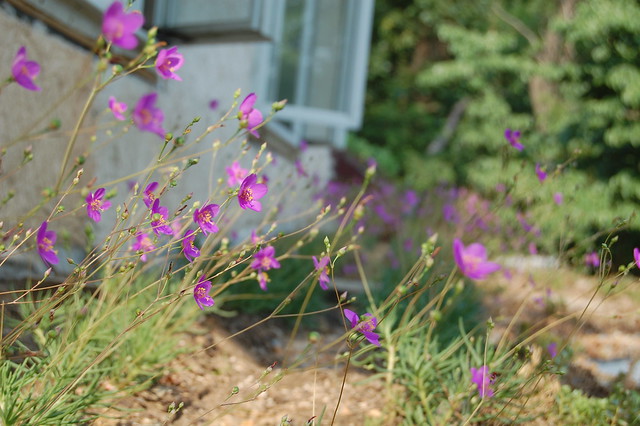
Earth roof over the entry way.

Tuesday, November 24, 2009

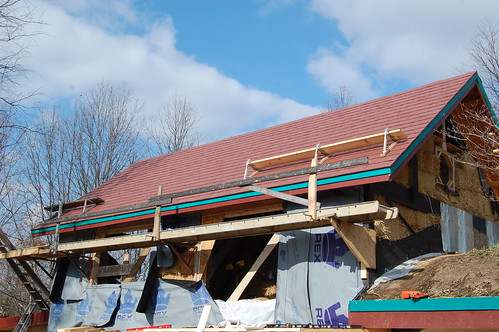
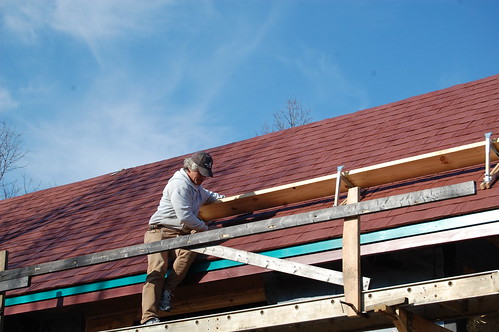
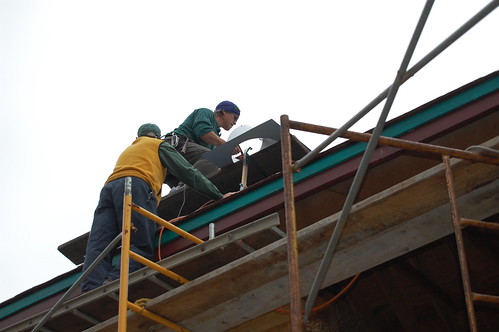
November 2009. Recycled vinyl roof shingles installed.
Linda's and my good friend, Marshall Hatch, arrived from NH on Saturday afternoon, November 14. David King came out for the day on Sunday and the four of us spent the day getting the staging set. We needed to get a heavy platform up on the south side, scaffolds on the north, and Marshall's million and one tools (not to mention the nearly 70 bundles of shingles) up onto the west roof. We had some issues with power and rain, but Marshall is never one to slow down, so things were always proceeding. He worked many nights using only a headlamp to keep things moving.

The shingles are made of 80% post-consumer vinyl and are warranted to last 50 years.

Click on any image below to enlarge it a bit.

David braces the ladder for Marshall as he takes the platform up.


David and Marshall set the other end of the platform.


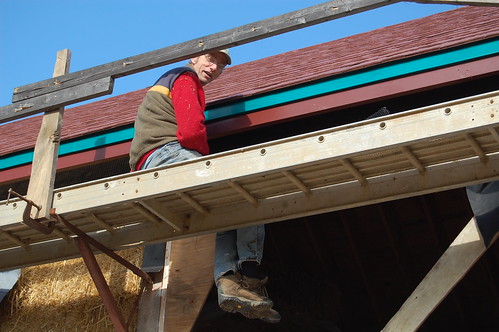
Marshall adjusts the platform. He'll use this to start the south side of the roof.


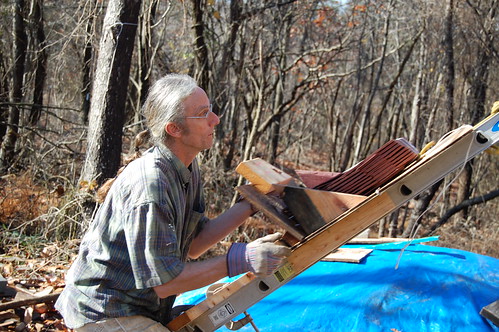
Marshall made a 'shingle sled' that David and I used to run shingles up a tilted ladder.


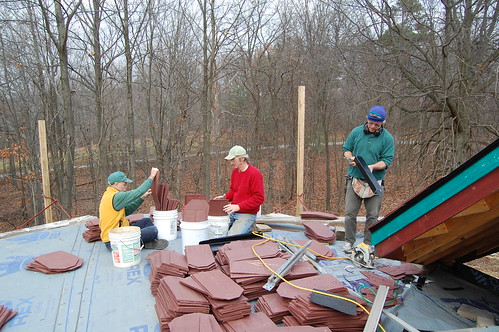
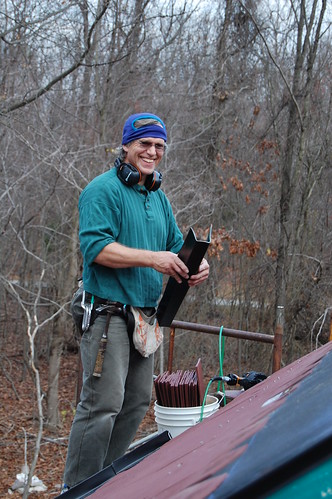
Shingles needed to be blended (to avoid bad color distribution on the roof) and also bent for optimal installation. Here we are on the staging area, the north roof is to the right, next to Marshall.


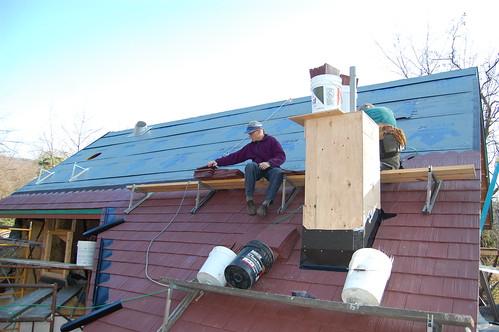
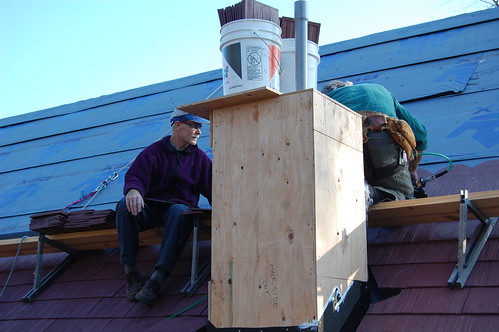
After completing the south roof in two days (Monday-Tuesday) there was a lot more preparation (and rain) for the north roof. Here Marshall built a vent pipe chimney to allow plumbing, solar hot water, and photo voltaic pipes to be installed in the future without having to drill into the roof later on. Brilliant.


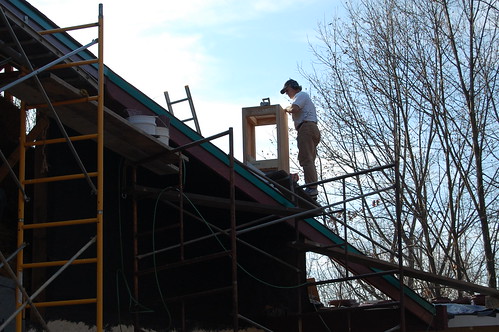
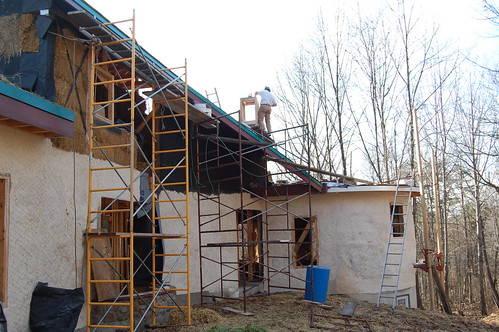
Scaffolds on the north side with Marshall building the chimney, seen from below.


Billy assists Marshall as he drills a hole for our masonry stove pipe.


From the west, a shot of Billy assisting Marshall as he drills a hole for our masonry stove pipe.


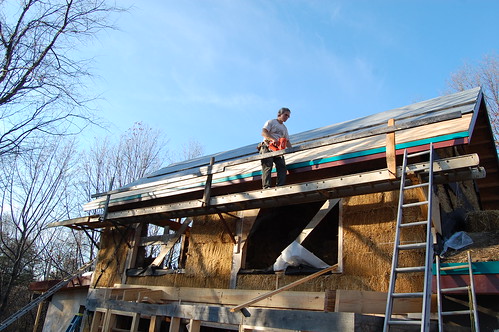
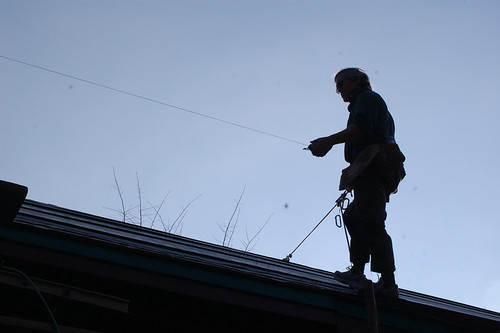
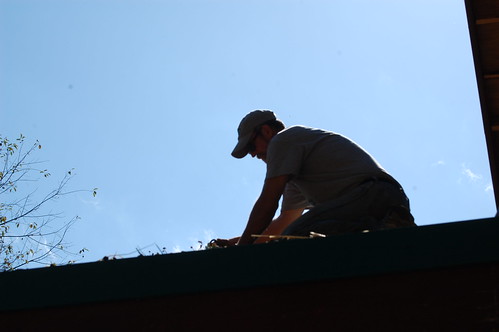
Marshall, roped up and snapping a line. Ready to shingle.


Billy walks the plank, helping to snap a line across the roof.


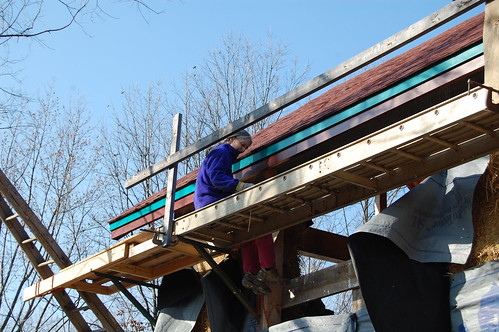
Overcoming her discomfort with the height and exposure of the platform, Linda worked on the south side applying waterproof layers to the roof beams...


Scot then attached the lathe...


.. and Linda went back up to apply lime plaster.


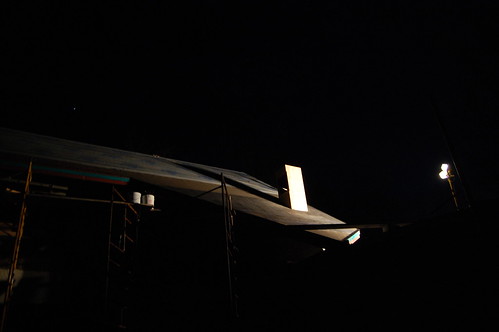
There were a few late nights, roofing by flood lamp and head lamp.


Marshall custom fitting a water diverter.


Marshall planning out the next phase of the installation.

Billy assists by staging and passing shingles while Marshall nails.


Closer: Billy assists by staging and passing shingles while Marshall nails.


A shot of the south roof, complete except for the ridge tiles.


Marshall removing a final bracket from the south roof.

Some photos of the finished product will be posted soon. More to come.

Sunday, September 13, 2009

2009, August/Sept:
Stone, Lime Plaster, and Living Roofs.


West end with first coat of lime plaster, taken from the northwest at the end of September, 2009.


West end at the end of Sept 2009... and a little surrounding mess!


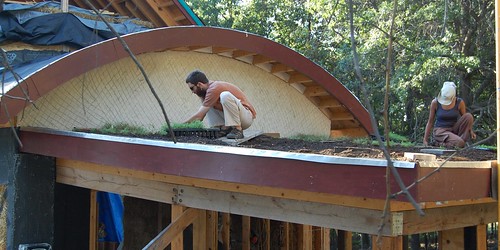
Marty planting on the barrel roof, the 2nd earth roof.


Marty and Linda planting on the barrel roof.


Mike Parsons working on the dining room stone wall.


Mike's work on the south, entry wall.


Mali, Denali and Ankur applying lime plaster to the west wall.

Linda plastering the west wall. Note the early 'tree' being placed in the plaster.


The bedroom wall mid Sept 2009: This shows a couple of phases at once.... One side straw, the other with a first coat of lime plaster.


North wall of the living room with first layer of lime plaster.
The window hole is 4' X 5'.


Living room, south wall before plastering. (note the waterproof and drainage layers have been applied to the barrel roof.)


The same wall with a partial first layer of lime plaster. The window - facing south - is 5' X 5'. Now the roof has soil and burlap on it.


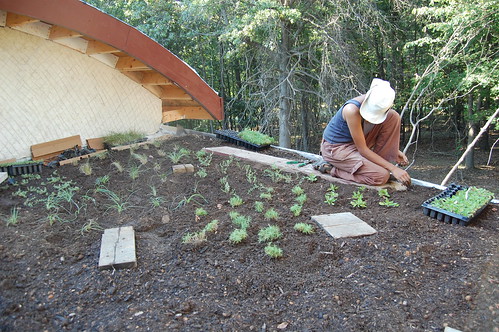
Denali and Mali beginning to plant on the guest room roof.
Note the curved fascia boards above Denali's head, and the lime plaster wall behind.


Denali planting some chives. Lime wall behind is scored in anticipation of another coat.


Mali planting some thyme.


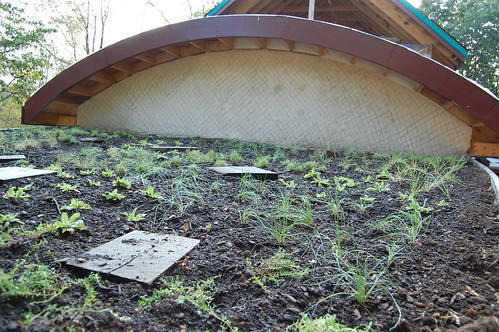
The guest room fully planted, with lime plaster wall behind coated twice. Now we wait and see how it grows.

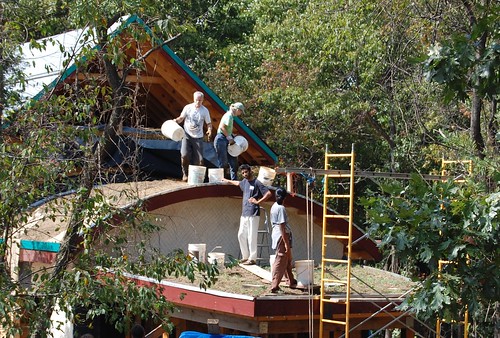
Mid September we had a small work party to haul soil up to the barrel roof. Billy, Linda, Ankur, and Mali on the roof while....

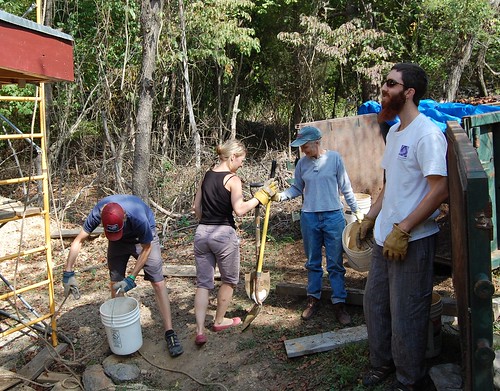
Drew, Liv, Lindsay, and Denali fill and hoist soil up.