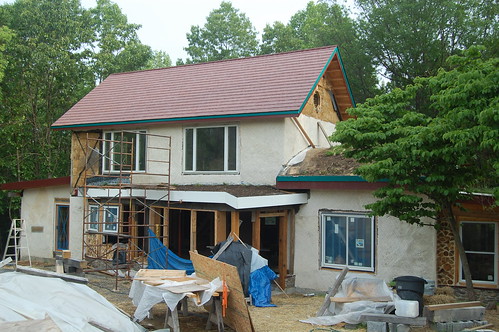
Cob is a mixture of clay, sand and straw. Worldwide, more homes are built of clay than any other material.
June 14, 2010: The floor on the first level is poured. Under the floor is 2.5 inches of rigid insulation that was headed for the landfill. This insulation will allow the floor to store heat in the winter, then radiate it back into the room at night. The floor will also keep the house cooler in summer.
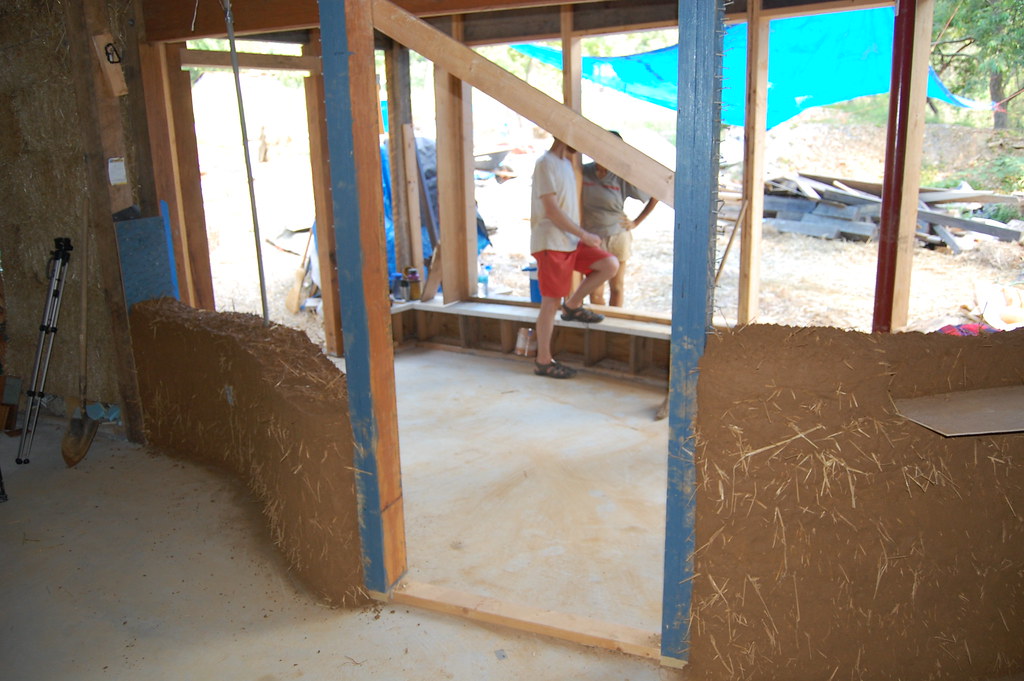
June 2010: We began building a 20,000 pound cob wall that, like the floor, will provide thermal mass to store heat in winter, and cool in summer.
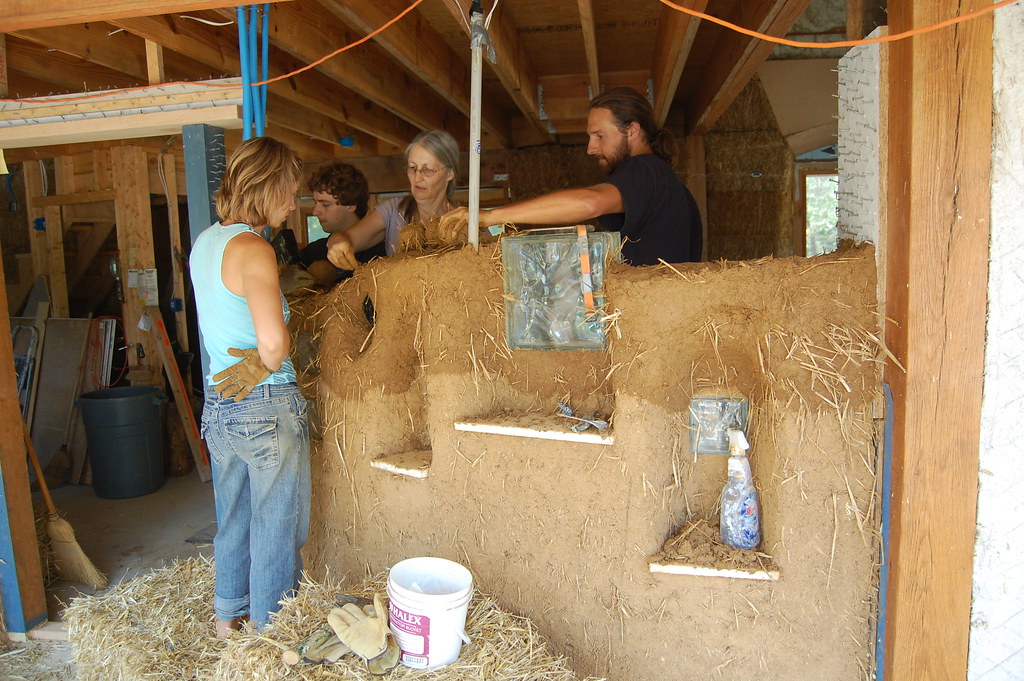
July 2010 weekend 2010: work continues. Niches and shelf take shape.
August 2010: the arches, electric boxes, and more glass go in. It's getting pretty tall.
Sept 2010, Labor Day Weekend. The wall nears the ceiling.
We will eventually put ceramic tile on the floor, but not for some time. The following photos illustrate the cob wall being built, curving out into this room, creating a sun room by the entry door. Most recent photos of cob work are at the end of this series, oldest first.
Click on any photo to enlarge.

The floor before the wall.

Before the wall.... only a door frame.

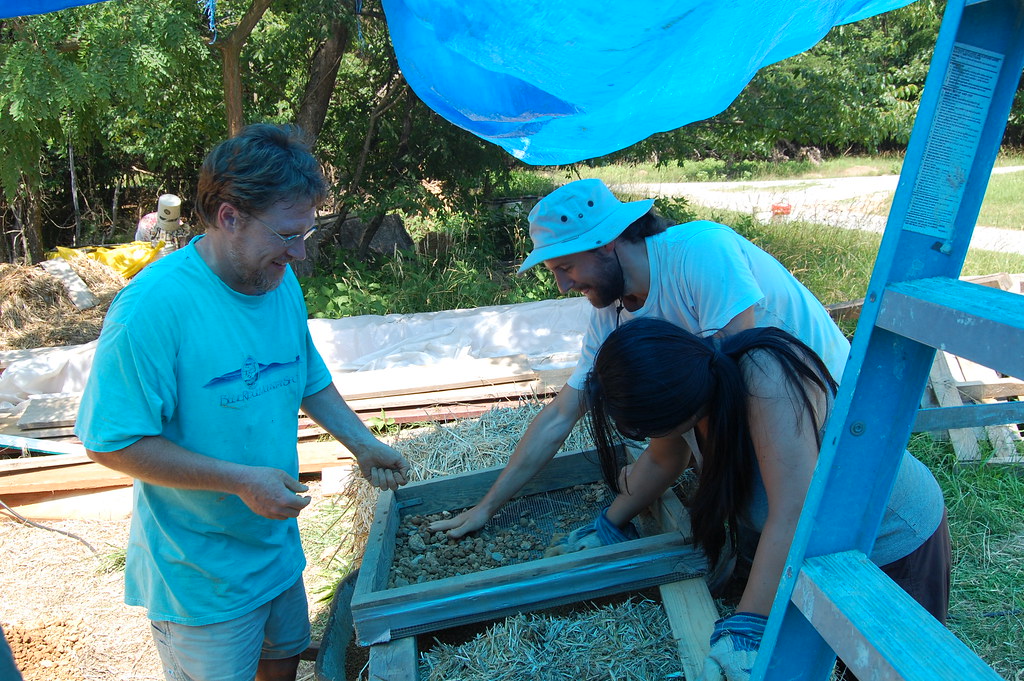
The clay is sifted.

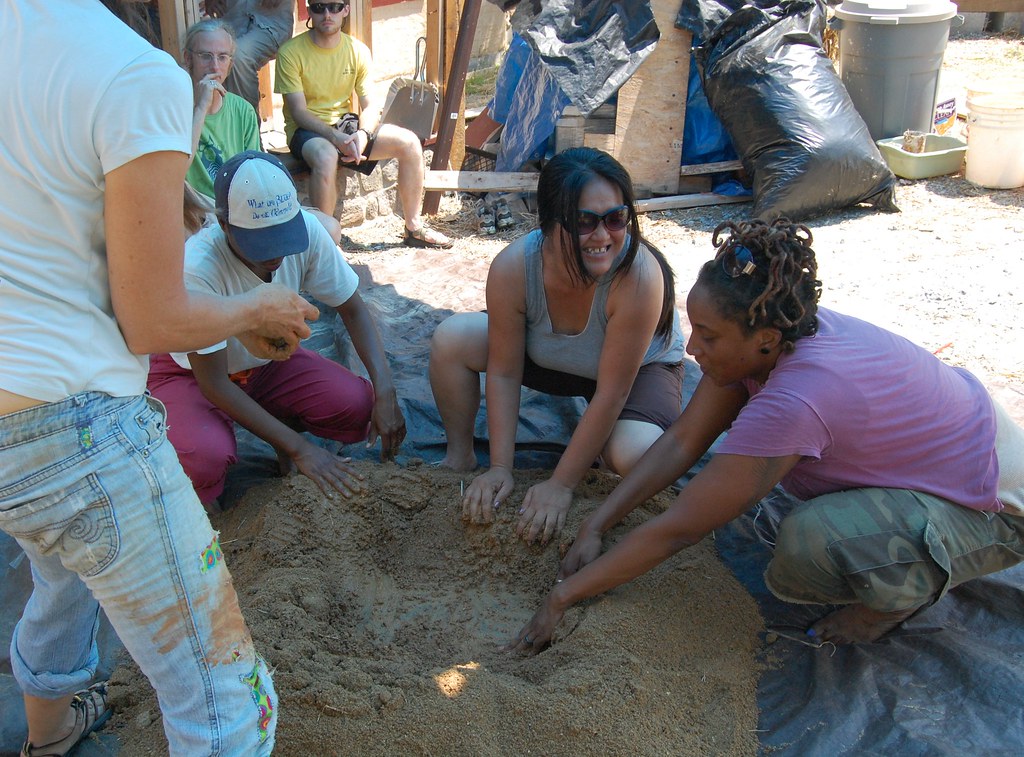
Sand and water are added.

The sand, clay, and water are mixed with bare feet....

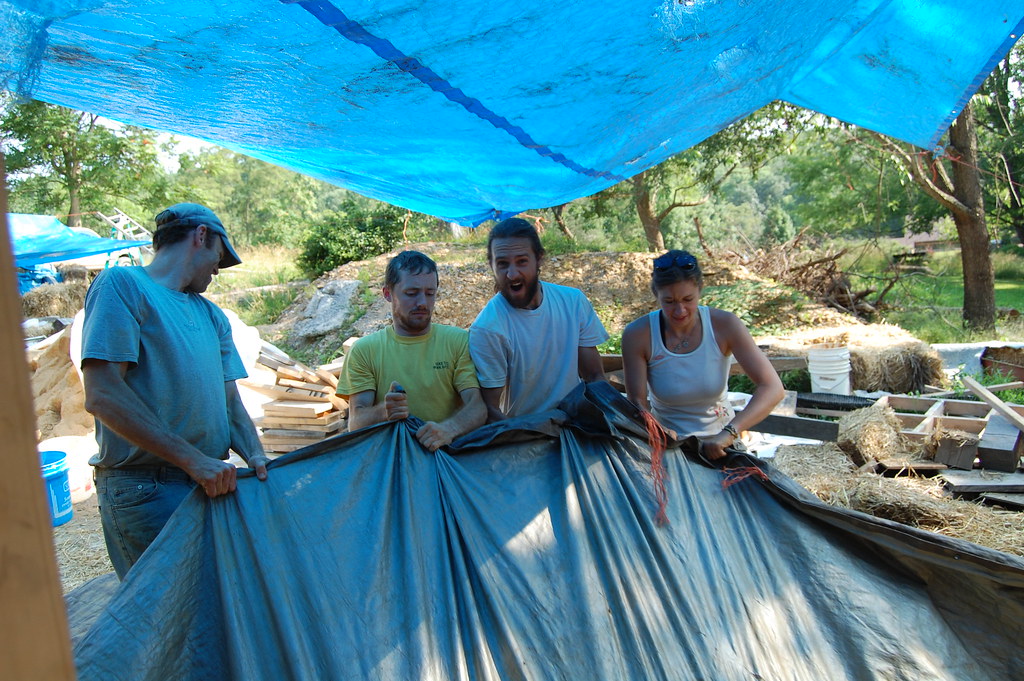
The mixture is 'tossed' within a tarp....

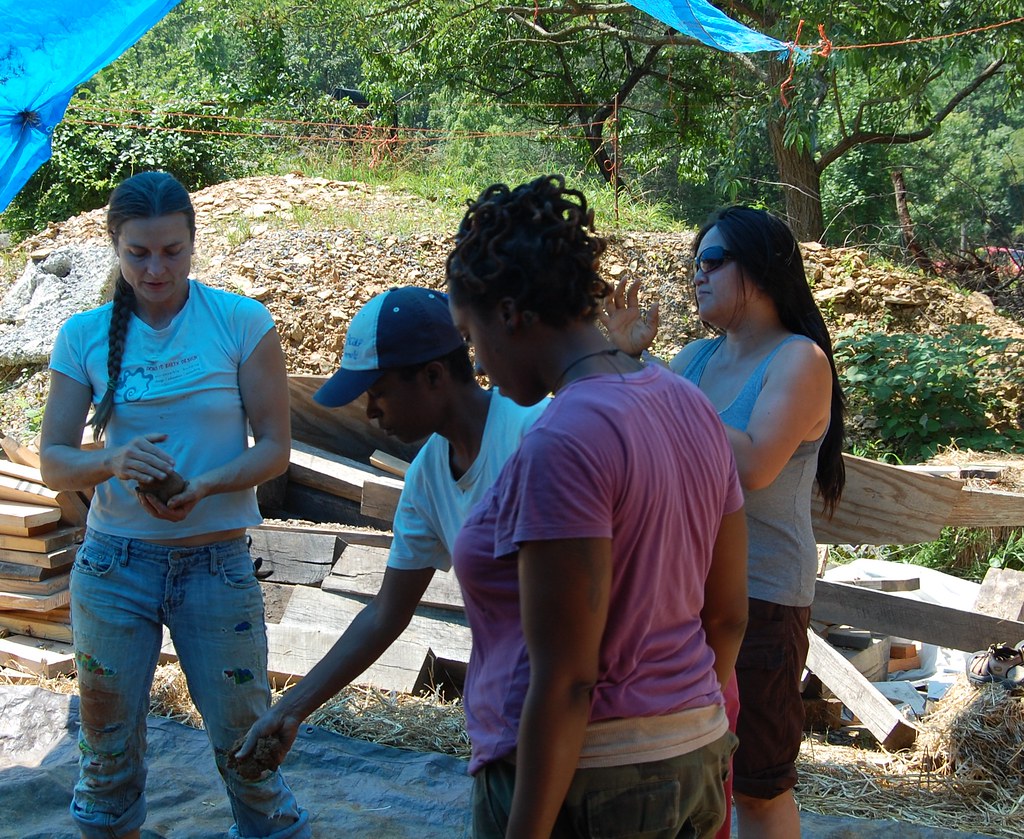
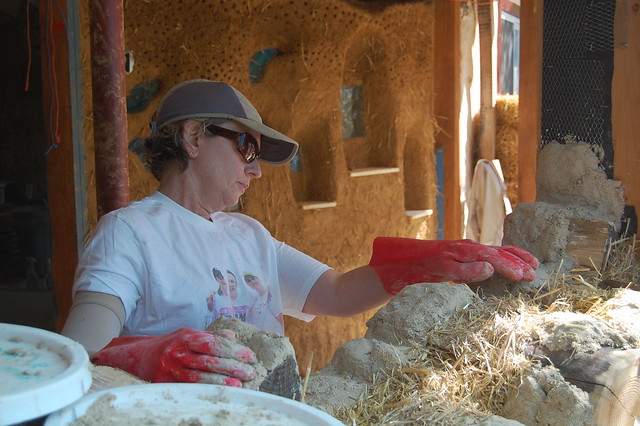
The cob, now with straw added, is tested for plasticity and strength.

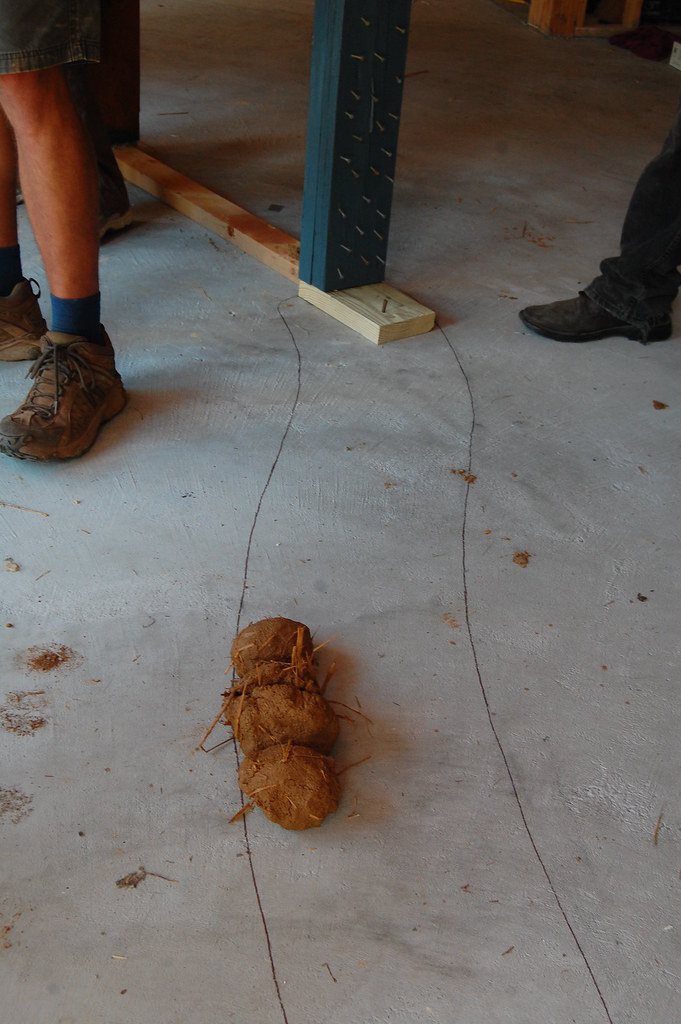
The cob is made into balls....

And the balls of cob are tossed into the house.

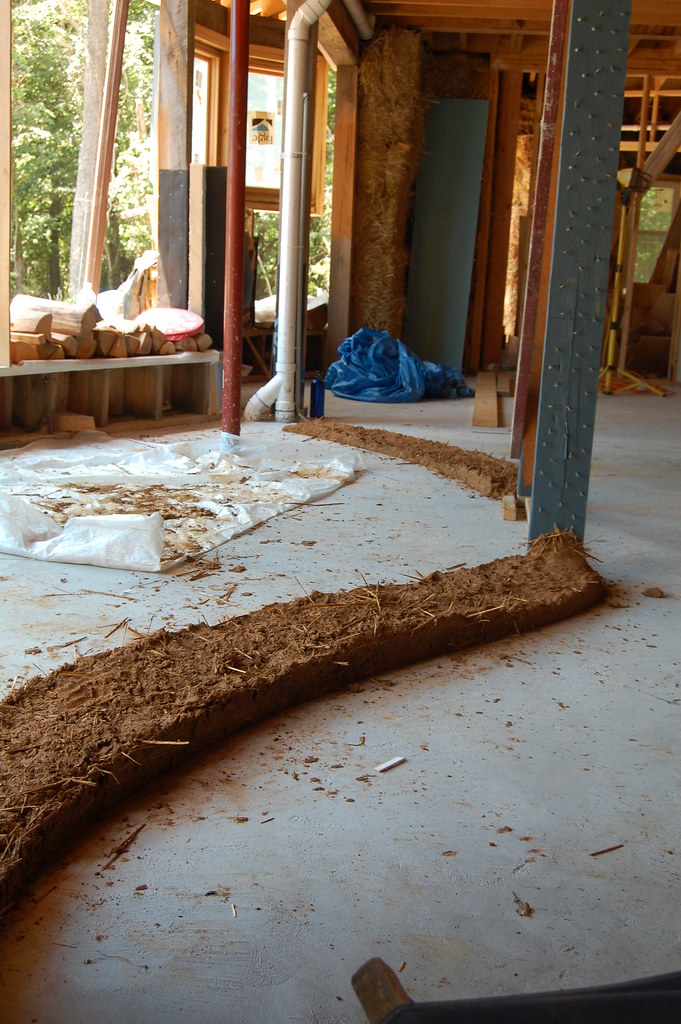
The cob is laid out for the wall....

Half and hour later, the cob wall takes shape....

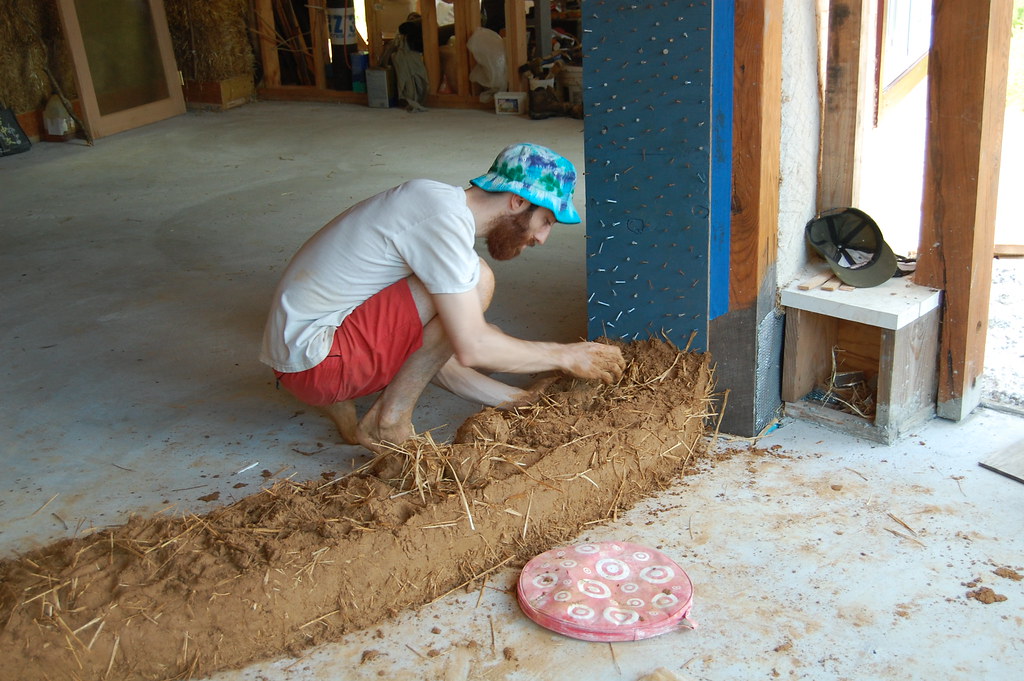
Pressed into the floor and posts...

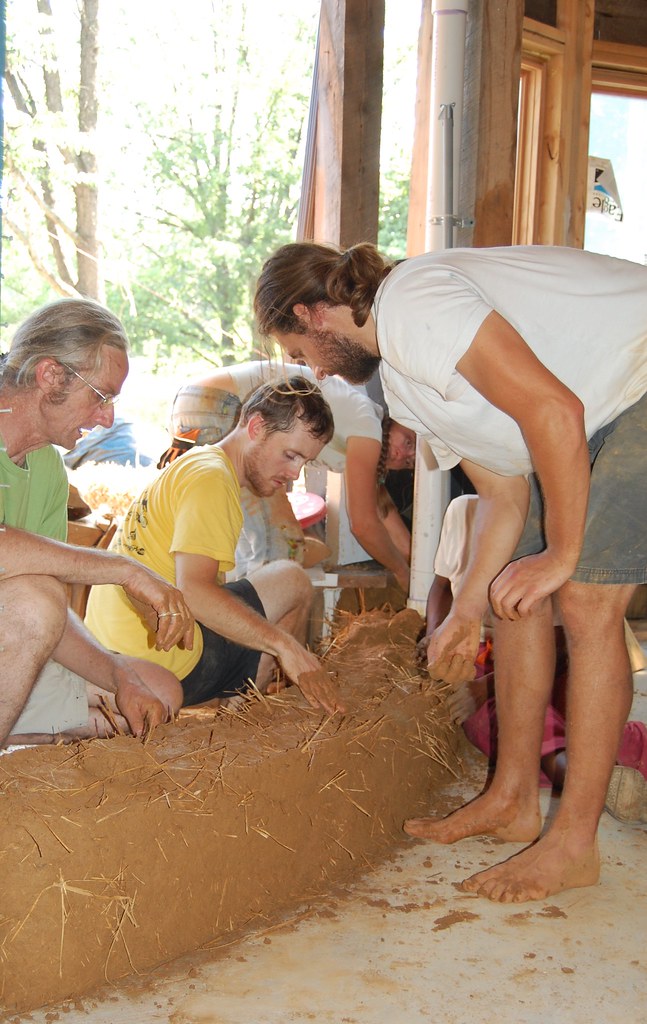
The wall is built up....

The wall gains more height.

Sigi creates support for a black walnut shelf that will be imbedded in the wall.

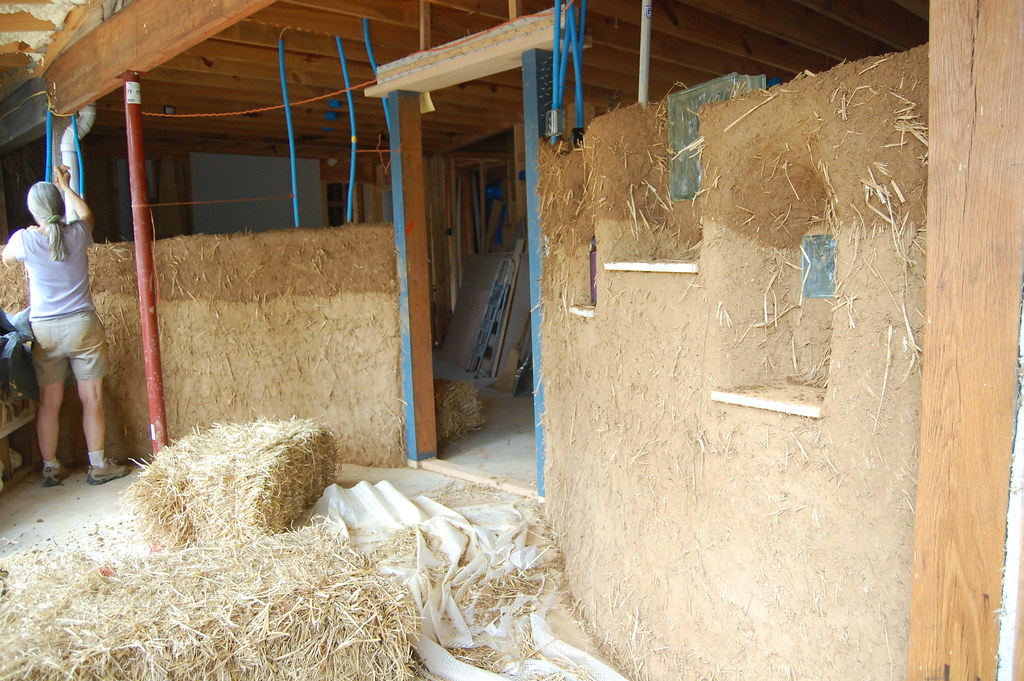
Just over a day later, we have a major portion of the wall built!
Above, from the sun room... looking in.

A view from the house looking out into the sun room.

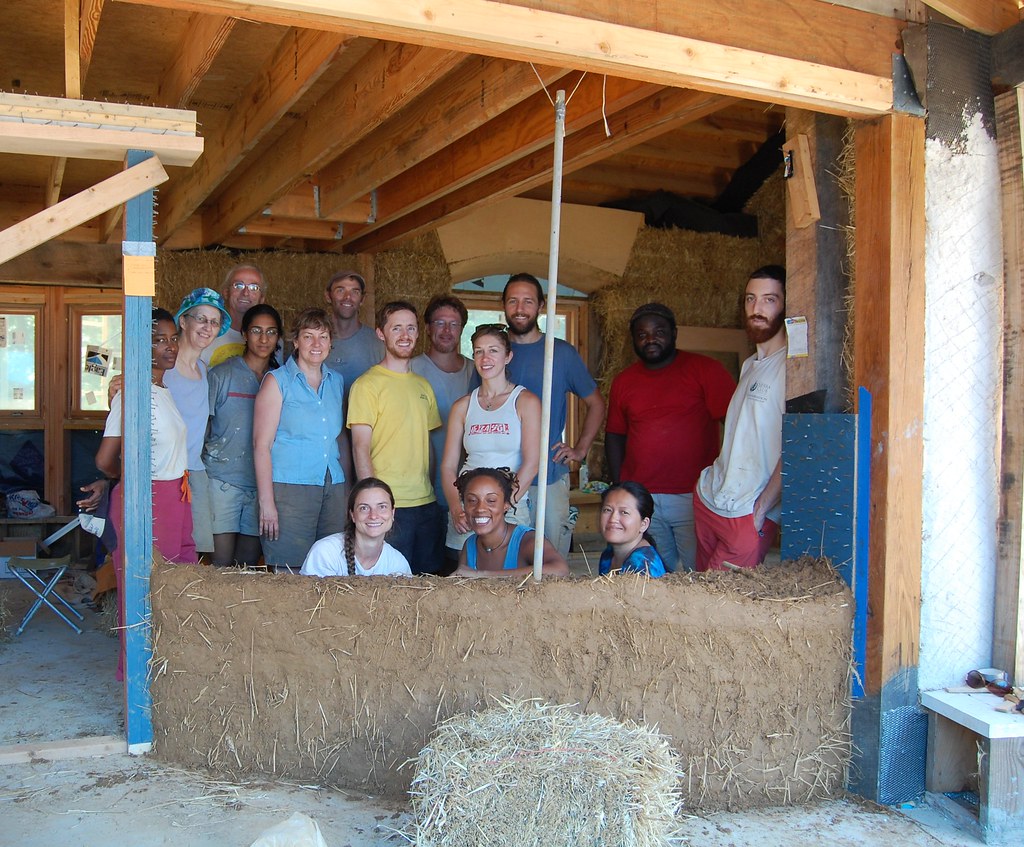
Participants at the end of day two, behind the smaller of the two walls!
In July, we continued the work:
Everyone working hard while Linda takes the machete to the wall.

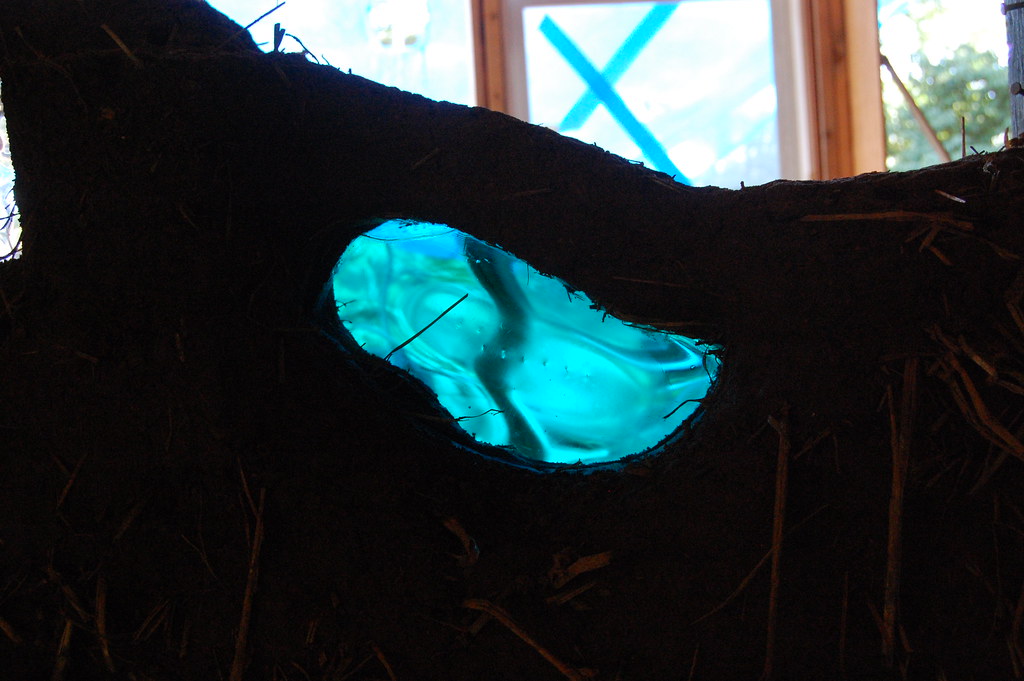
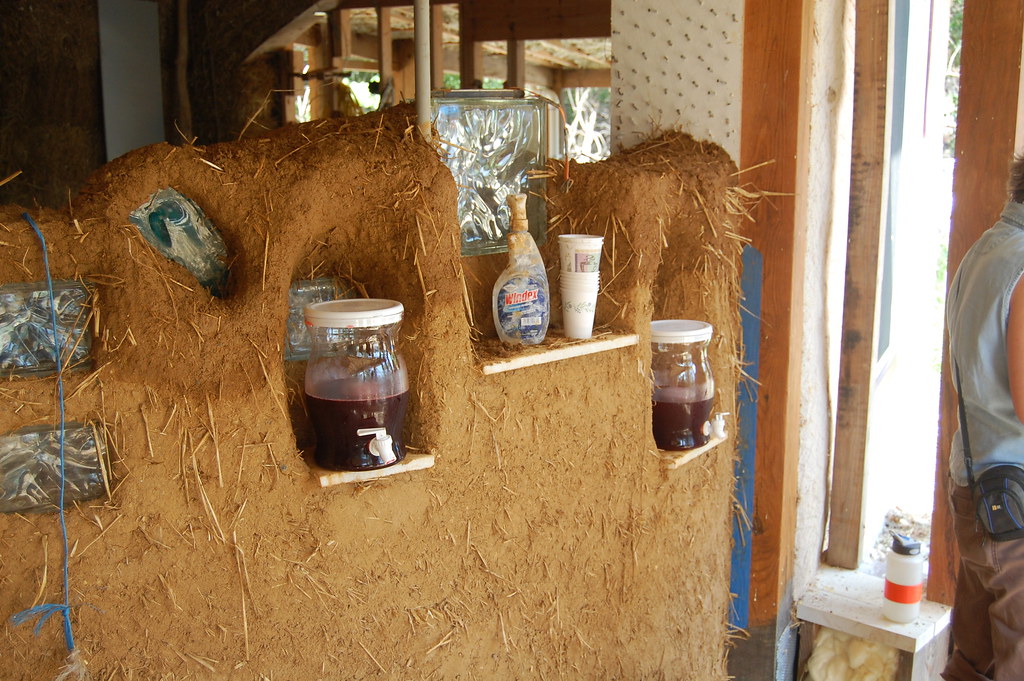
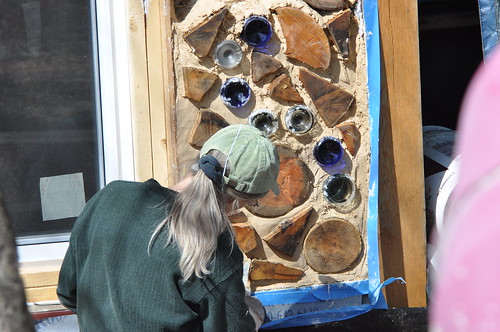
A closeup of the thick glass in the wall.

Paul, Lindsay and Paola (with Renata and Steve in the background) sift clay.

These guys are quality control?
 At the end of the second weekend.... note the inlaid glass and marble.
In August with some new folks and some returning, veteran cob builders, we took it up even higher:
Sarah, Jason, Linda and Ryan work on an arch. Note they are standing on bales, so the wall is taller than it may look.

The arched niches hold Vivian's freshly made blackberry juice!

Tom and Nomi finish off around electric boxes.

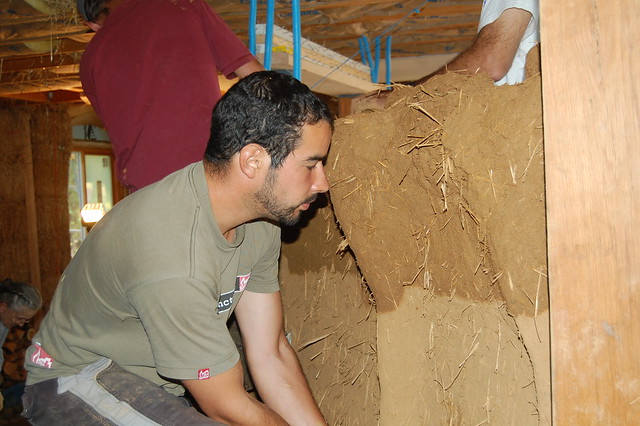
With the new, wet cob showing on top, you can see that
the wall is a bit higher on Saturday evening.
Labor Day 2010
Jonathan working on an arch.

Josh and Lindsay work around some glass.

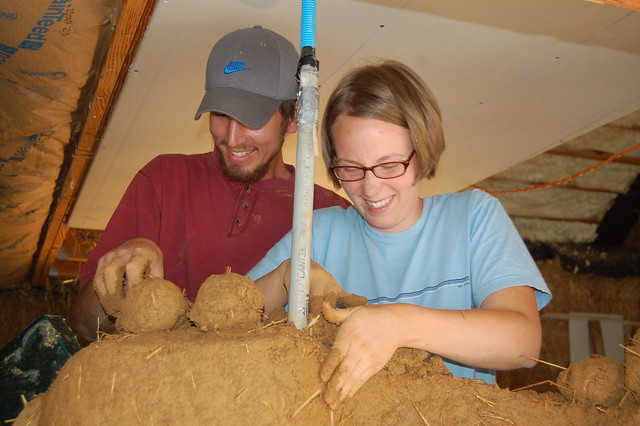
Ben and Leah pressing cob balls into the wall.

Linda and Jackie work near the door.

Billy working cob above the doorway.

 Kitchen and entry way cordwood.
 Kitchen and entry way cordwood.
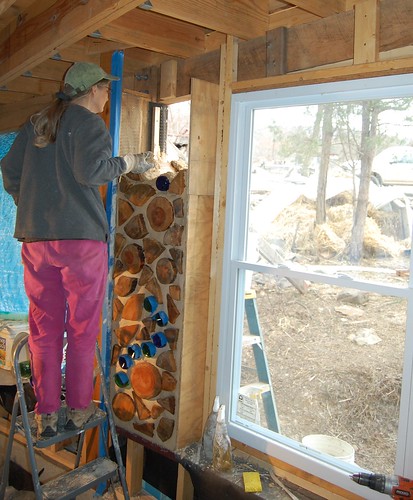
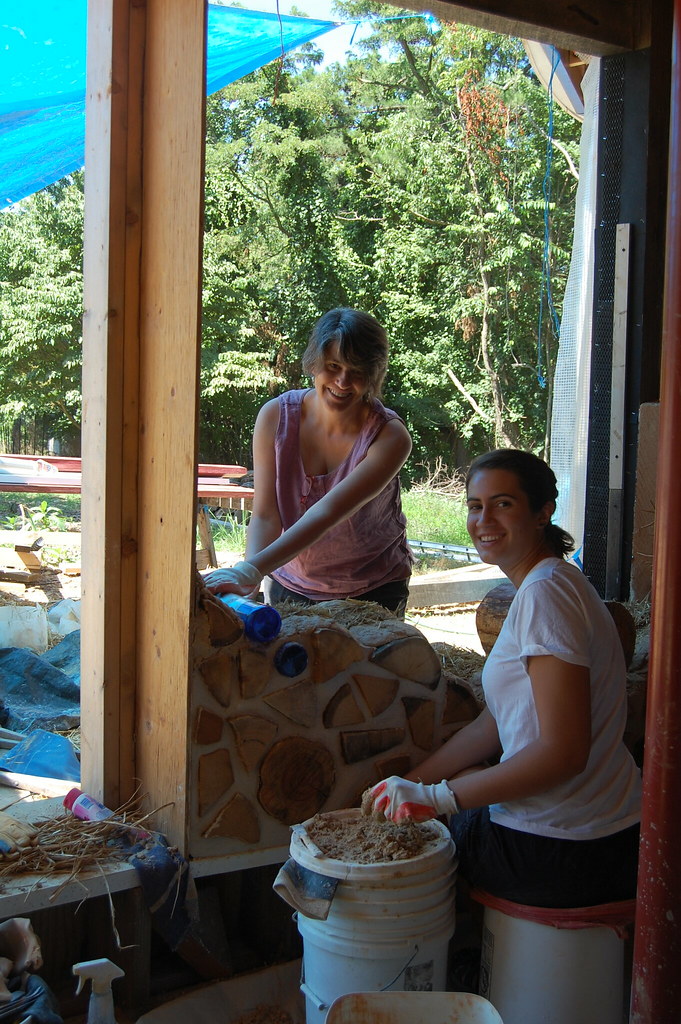
 Leslie works on the entryway cordwood wall.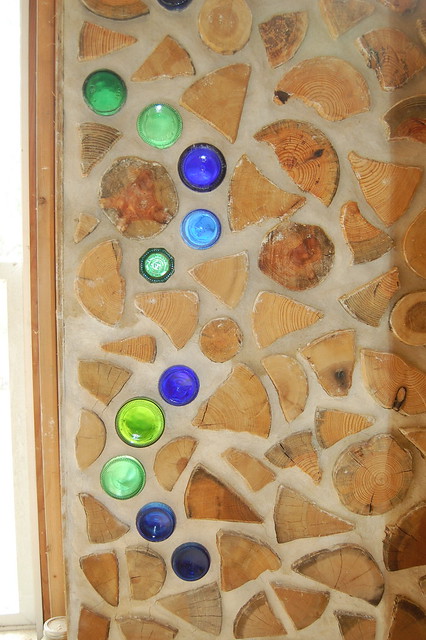
 Lindsay helped start the dining room cordwood wall.
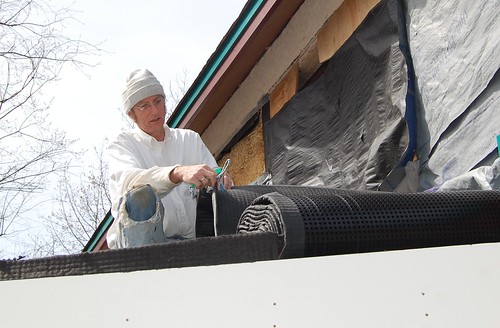
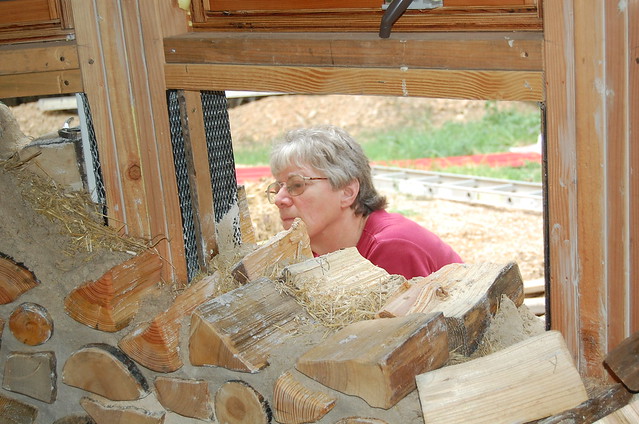 Vivian works on the outside of the dining room.
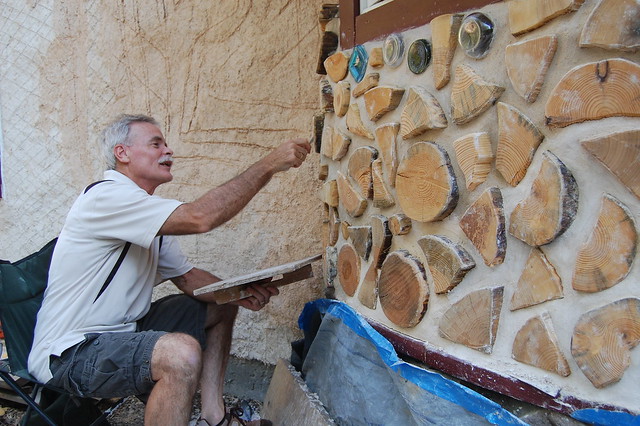 Billy put in a couple days of work on the dining room cordwood.
 Linda putting the last bottles into the dining room wall.
 The dining room with bottles.
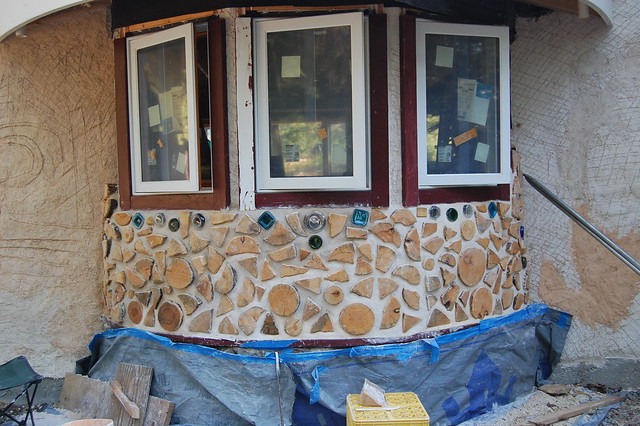 The dining room seen from the outside.
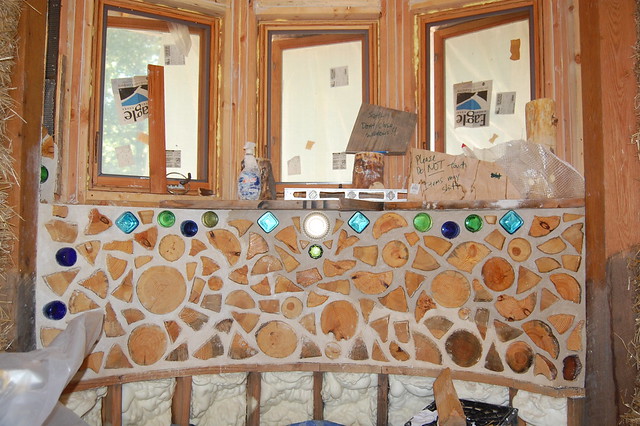 The dining room seen from the inside.