Tuesday, June 14, 2011

Seventh Graders visit the straw bale house

In early June, 2011, the seventh grade science class from Capitol Hill Day School came for a visit and tour. We don't have many photos of the tour, but the cob mixing and earth roof work is what the students will probably remember anyway!

Scot explains the efficiency of the masonry stove.

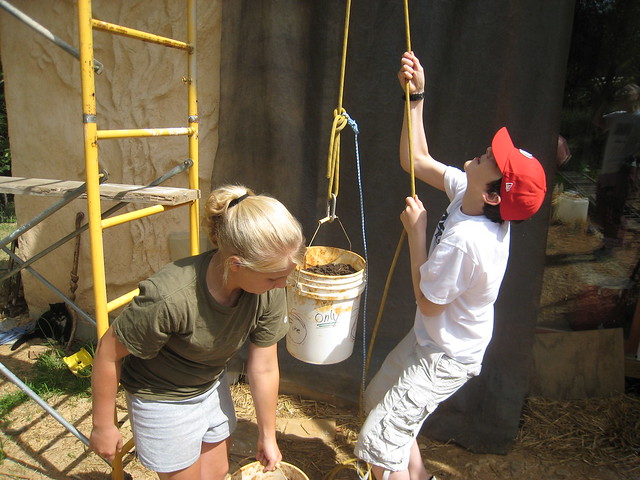
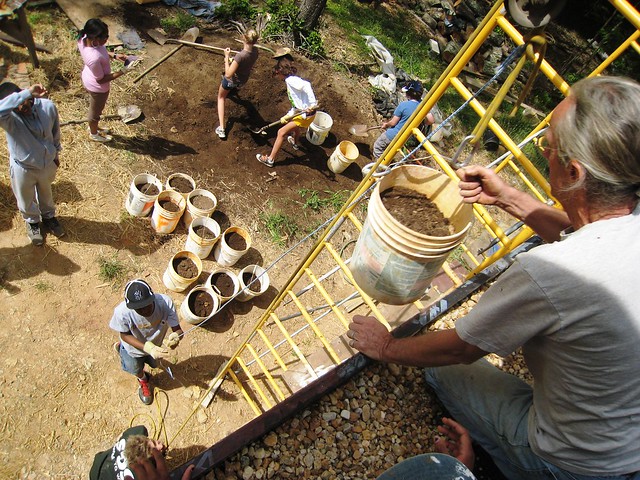
After a fairly long tour and lots of questions about insulation, thermal mass, electric setup, etc, we had the 7th graders haul about 40-50 buckets of compost onto the last big earth roof. We had previously set up a scaffold and pulley system. Students loaded buckets, then pulled from below while others took the buckets and distributed the compost around the roof. Lots got done!
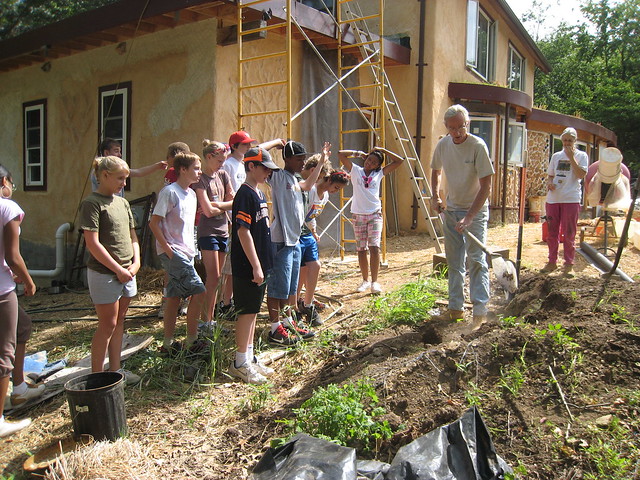
Digging up the compost.


Digging up the compost.
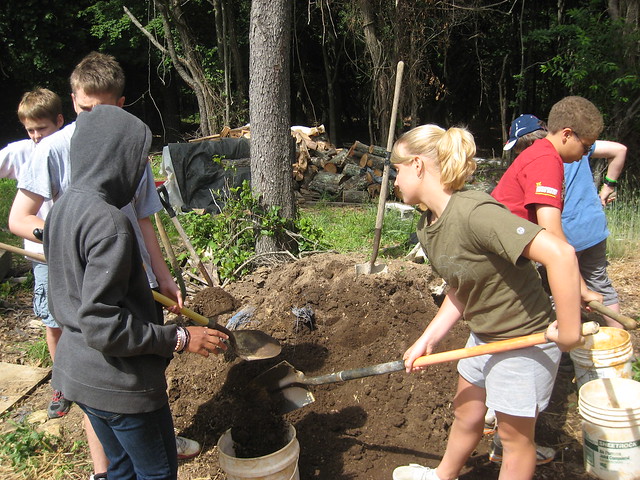

Using the pulley to haul compost up.


View from the top of the pulley system. The scaffold simply holds a horizontal ladder which in turn holds the large pulley.
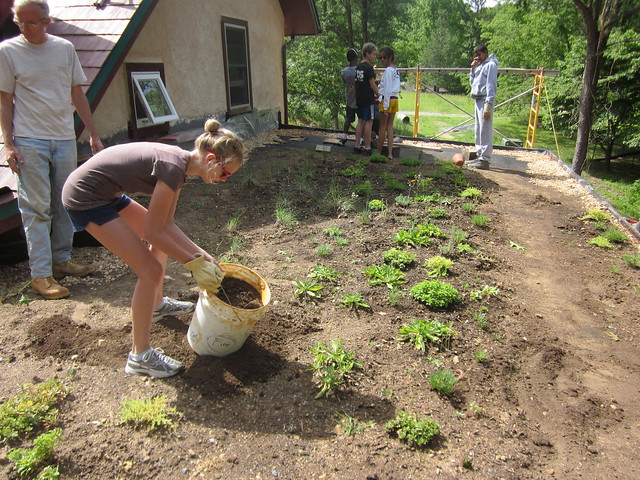

Once up on the roof, students distributed the compost.
Plants are there from a previous planting.
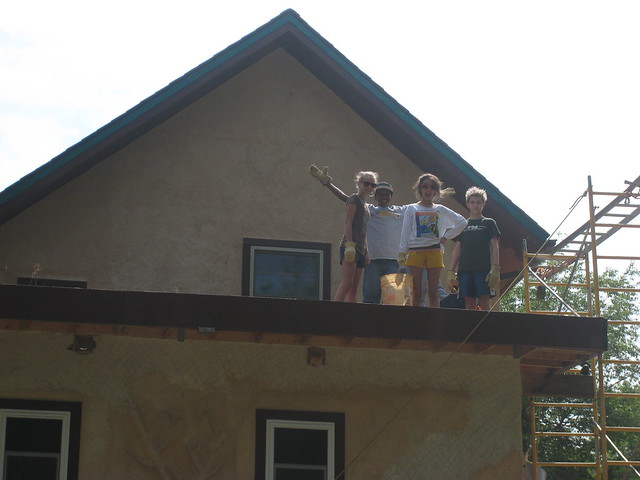

They acted like it was a lot of work, but they had a lot of fun, too.
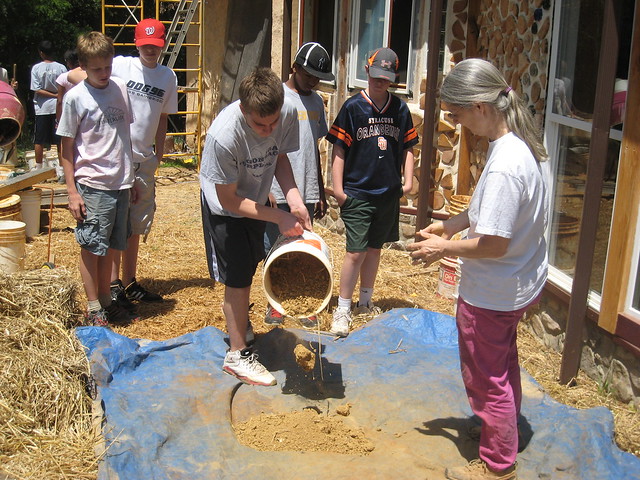

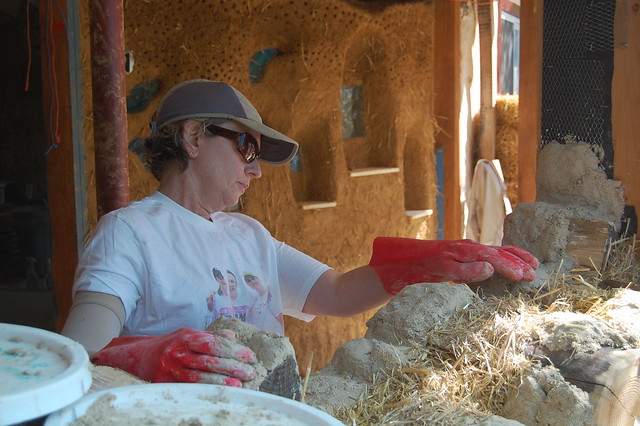
After lunch we mixed some cob with our feet and built some supports for a small bench in the entry way. Here some boys add sand and clay.
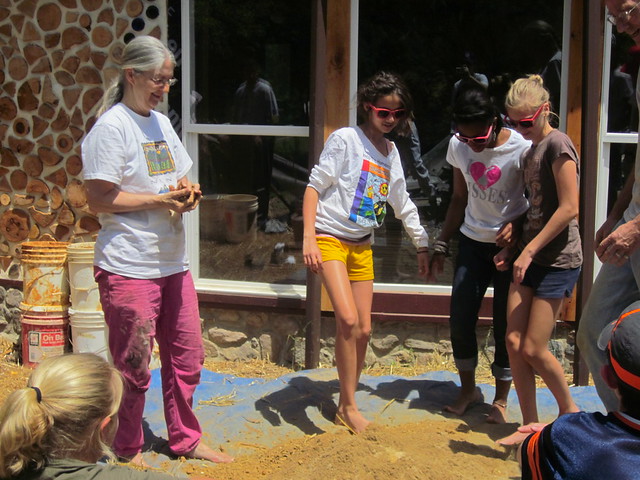

There is method to it. Linda instructs. Boys and girls mixed with their feet.


The students enjoyed mixing. Lots of water and mud!
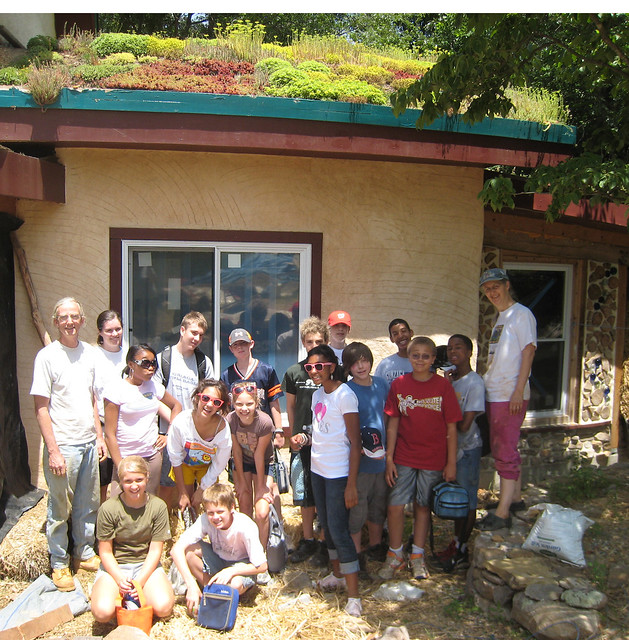

At the end of the day we got a group shot under the living room earth roof.

Monday, June 13, 2011

Second and Final coats of interior plaster walls.

First, a few shots of some walls with finer (but not final) coats of plaster...

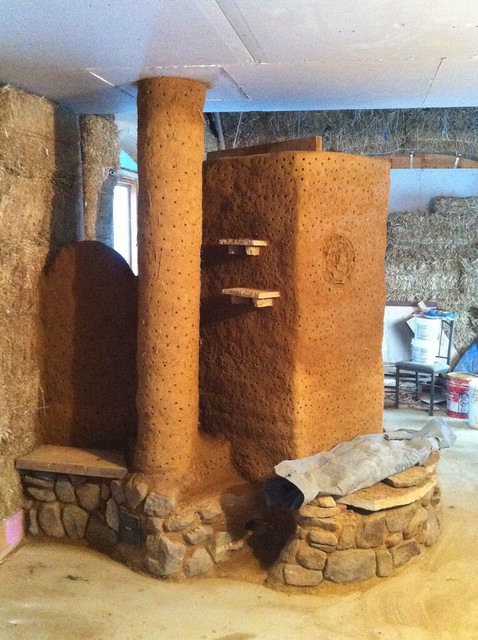
Above, the dining room area with cordwood, cob bench, the dining room wall, plastered stove pipe, and stone work around the base of the masonry stove.


Same as above, but showing the first, rough coat of clay around the masonry stove.


Farther around the stove, we built a wood storage area. Here we built an arch over that area, a visual link to the arch in the living room, the arch of the barrel roof, the curve of the entry wall, etc. Note the straw at the top. This is one of the few areas without an initial clay coat yet.


Now some shots of final coats....

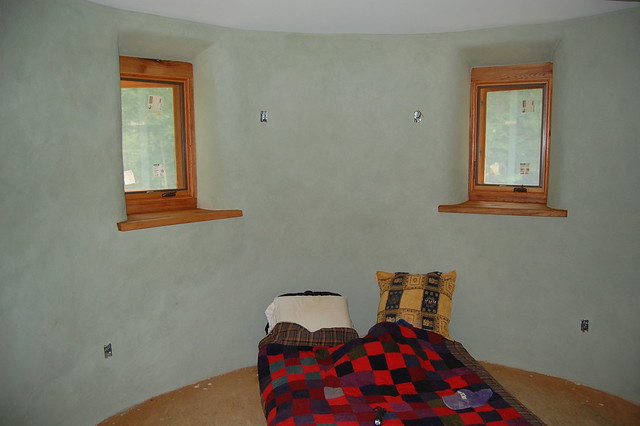
Once we detailed the curve of a straw bale wall as we wanted it, we put the final layer on. In this case, we used a white clay that was donated and added fine, sifted sand, wheat paste, and a green pigment. The result does not show well in the photos, but is a wonderful green that stops the flaking sand coming loose from the earlier layers.


Here you see a window in the bedroom with window trim, an oak window seat, and the final plaster coat.


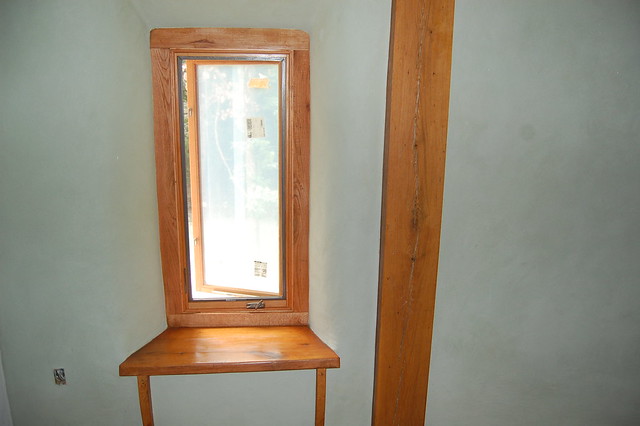
A closer shot of a window with a deep, oak window sill. Plaster is final coat. As noted, the walls are greener in life than they appear in these photos.


Wednesday, March 30, 2011

Spring 2011 Clay plaster interior.


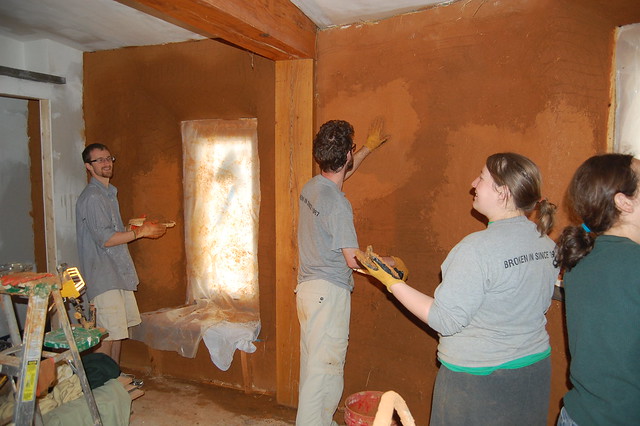
In late winter we began to apply clay plaster to the inside walls.
March 19th we had a huge work weekend.

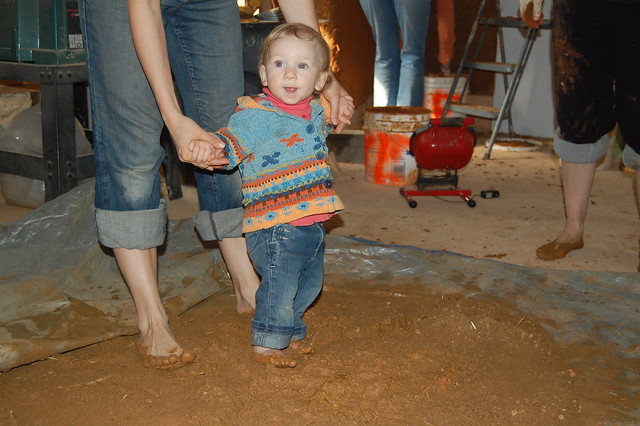
Emma was our youngest cob mixer.


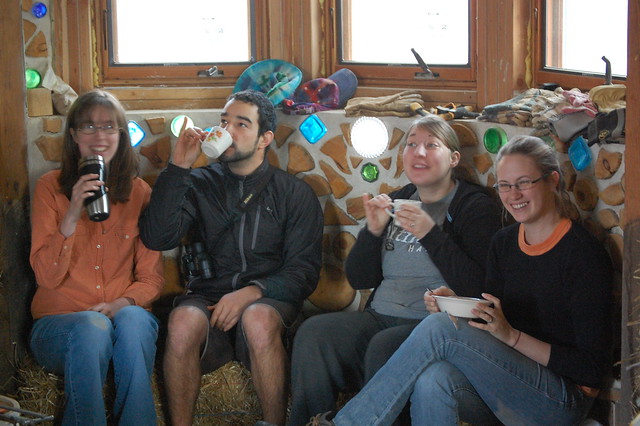
Rachel, Jonathan, Joy and Katie before the work began.... still clean!


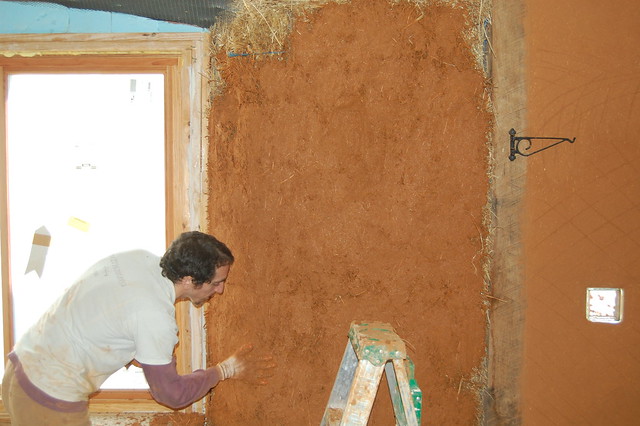
Luke applying plaster to the living room walls.


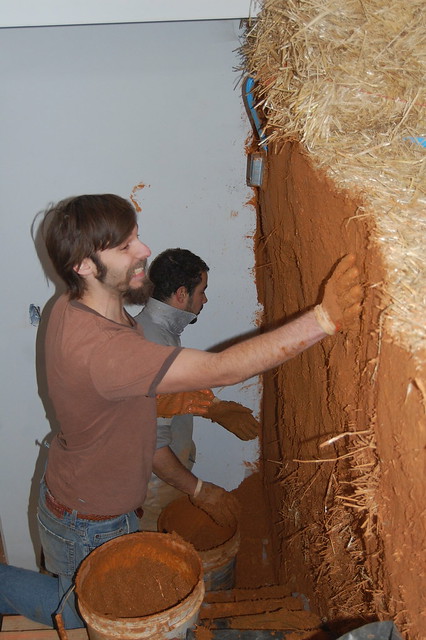
Kate and Keith work by the new cob bench.


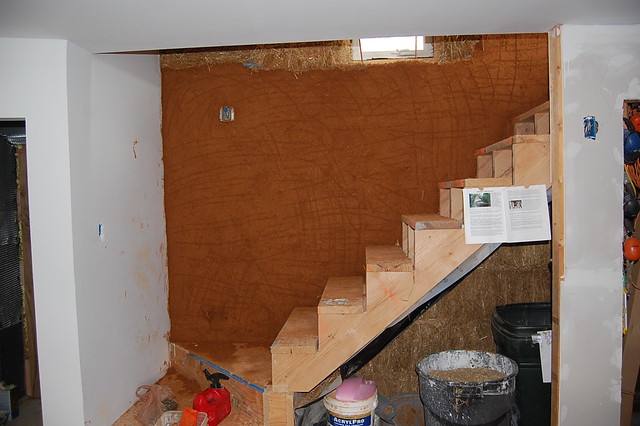
Keith and Jonathan plaster the stairs.


Josh(1), Josh(2), Joy, and Kate
putting a second coat in the bedroom.


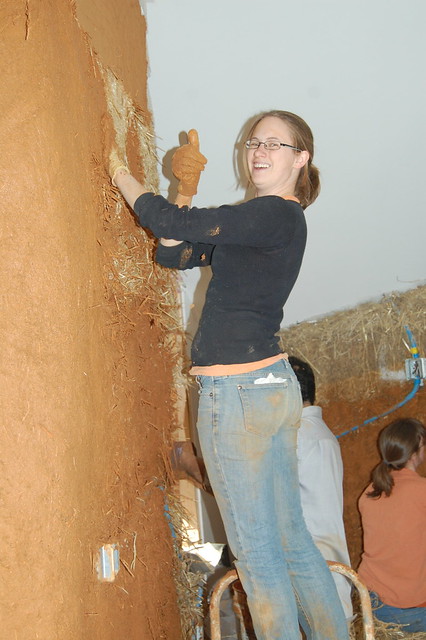
Katie (and a little of Jonathan and Rachel) work upstairs.


Between 8:00 am Saturday and 3:00 pm Sunday, we put 47 buckets of plaster (and cob) on walls (and a bench.) It was a great time.

Sunday, December 26, 2010

Masonry stove, stone work, composting toilet.

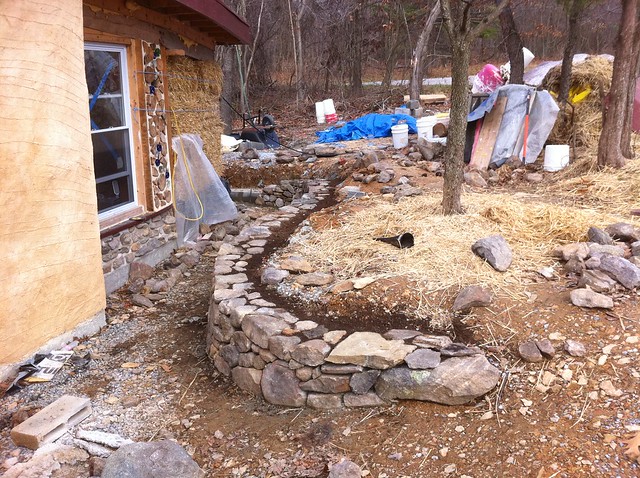
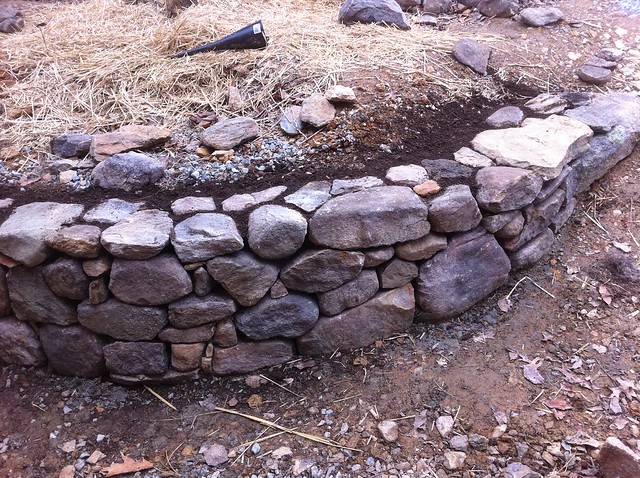
In late fall we began work on a retaining wall, but when winter really set in, we started work -inside - on the masonry stove and the stone bench around it.

First some shots of the stone wall. Solid as can be, but made to appear like dry stack.


We are really happy with how it is turning out.

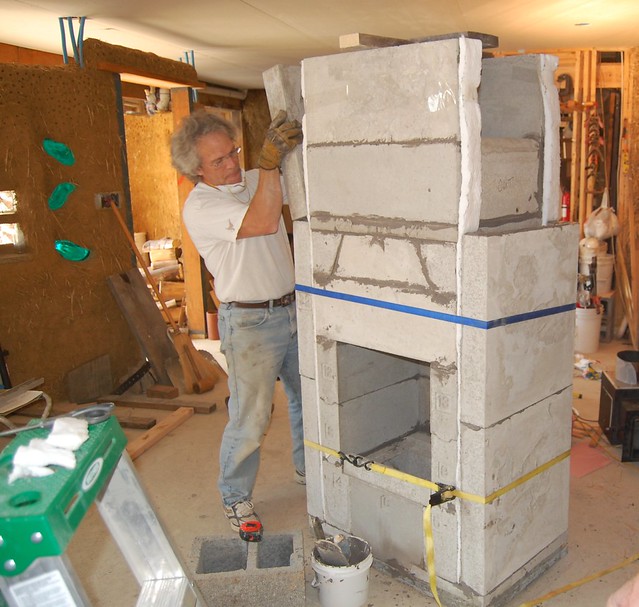
Earlier in 2010 we got a masonry stove kit.  Our good friend, Marshall, came down from NH to help Scot put it together.  (He was the brains and the muscle of the operation!)


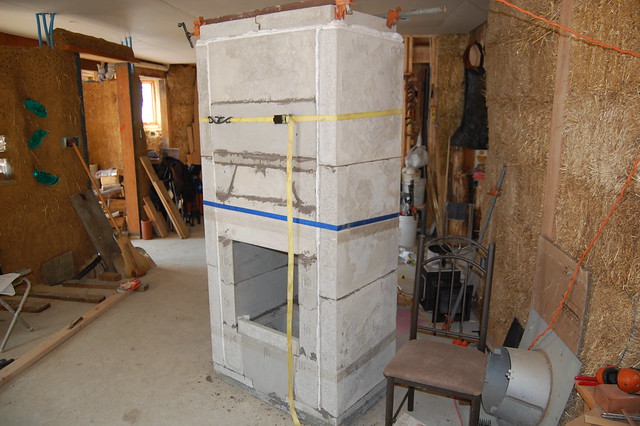
Scot moved it all inside ahead of time, we put it together 'dry' to make sure there were no surprises, then mortared it all together the next day.


Marshall lifts a 125 pound block onto the unit. Easier alone than with Scot 'helping.'


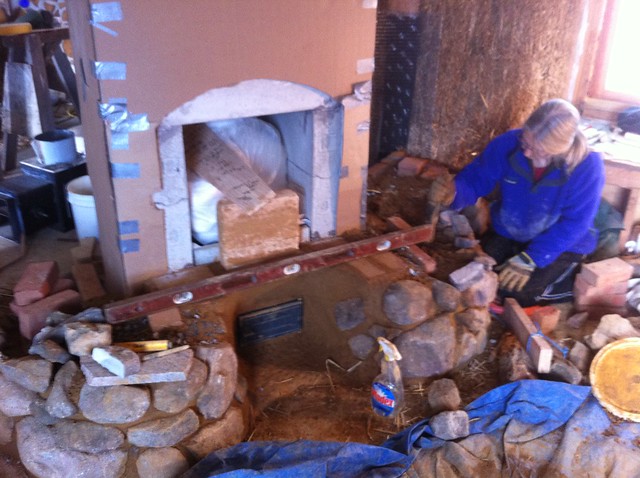
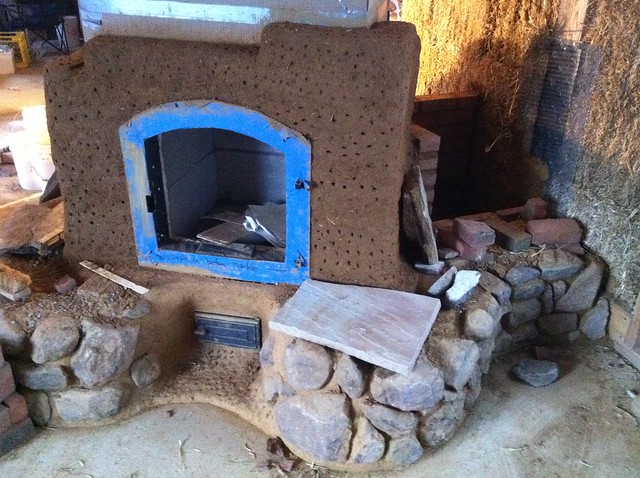
Before it can be fired up, it must be covered with at least 4 inches of brick, stone, clay, or similar material. We will have a mix of cob and stone. What follows are photos of the process for covering the Masonry stove exterior. The stone bench being built below and the cob to follow will provide a warm place to sit around the hearth, and will increase the total weight of the stove - and hence its ability to store heat - to close to 5,000 pounds.

Cardboard around the stove - seen in photos below - is there to provide an expansion joint between it and the cob that will surround it.


Early December, 2010:
Lots of details work had to be done to get the air intake door set correctly.


Mixing cob with your feet is a lot harder in the winter time!
But the stone started to go up.


Around December 23rd:
After about 5 days work for two people, this is what is done on the stone bench.


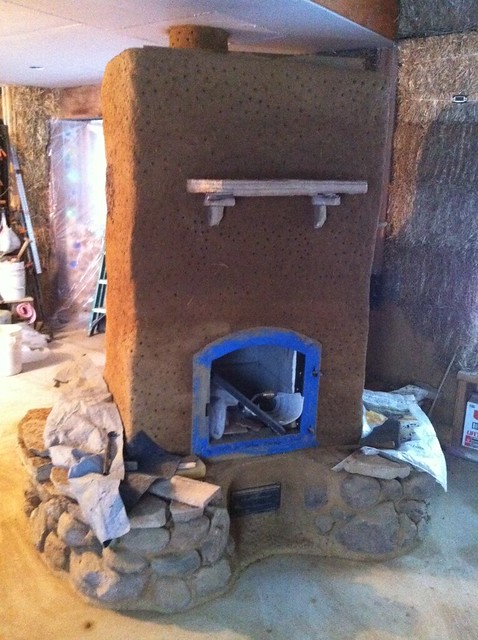
Then the door frame (with painter's tape to keep it clean) was anchored to the core, and cob went up the walls, .....


January 2011: The stone bench continues around the back,
with chimney being covered in cob as well. All this mass (4000-5000 pounds) will store heat in the winter, and cool in the summer.


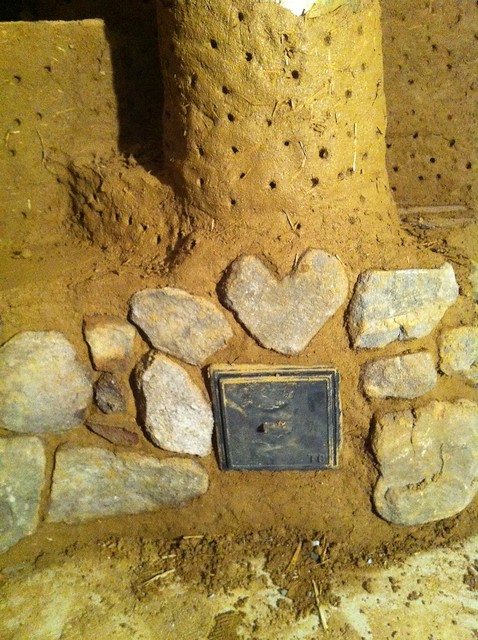
The back, clean out door, with a heart shaped stone found in the woods.


With most of the primary cob work done.. from the back.


Most of the primary work done, from the front.


Later, additional coats and artistic relief were added.
The stove is a wonder!  Two short fires a day keep the whole house VERY warm in winter.


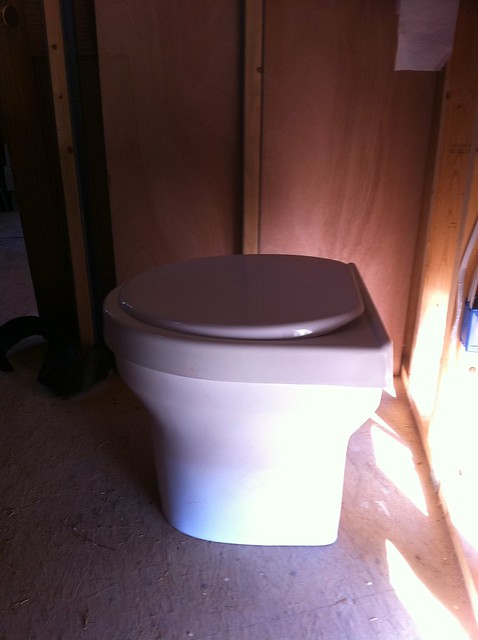
AND... as of early December 2010 we now have toilet facilities:

Upstairs it looks fairly normal except that is has no water tank. This will obviously help with water conservation.


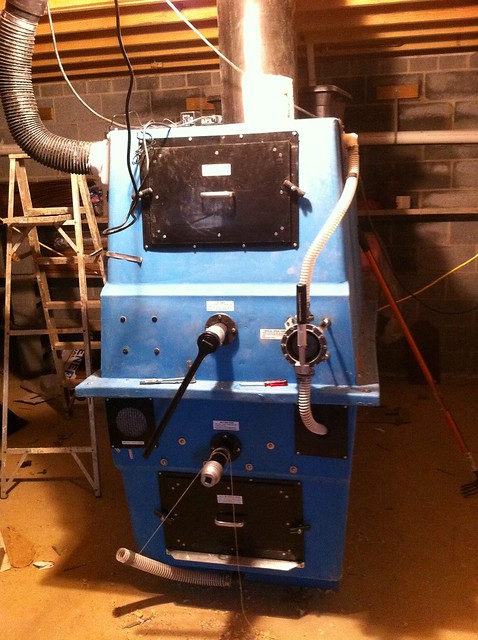
In the basement, the elaborate composting unit.  It will allow nearly two years of use without emptying.

Monday, September 20, 2010

Summer 2010, Kitchen, Dining Room, Entryway Cordwood

During the summer of 2010, we worked on the guest room, kitchen, entry way, and dining room cordwood.

Kitchen and entry way cordwood.


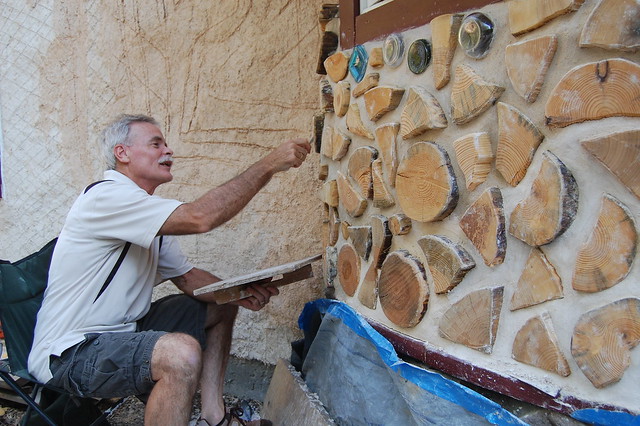
Leslie works on the entryway cordwood wall.


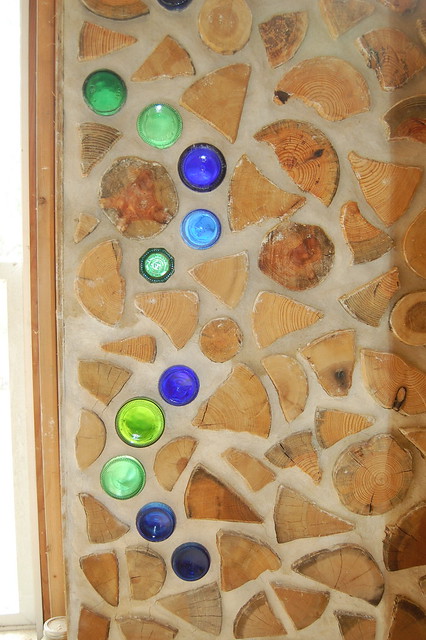
Bottles placed in the wall give wonderful color to the wall.


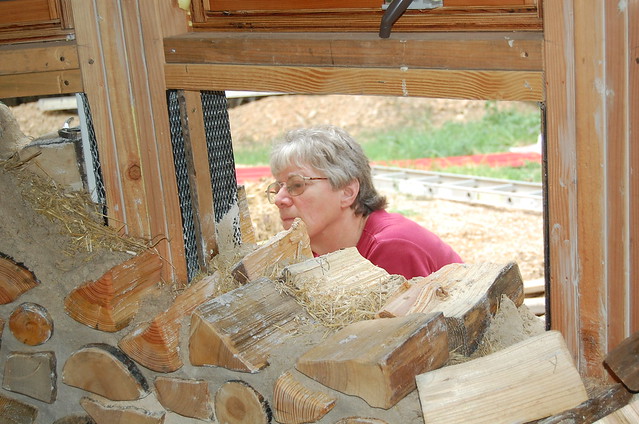
Lindsay helped start the dining room cordwood wall.


Vivian works on the outside of the dining room.

Billy put in a couple days of work on the dining room cordwood.


Linda putting the last bottles into the dining room wall.


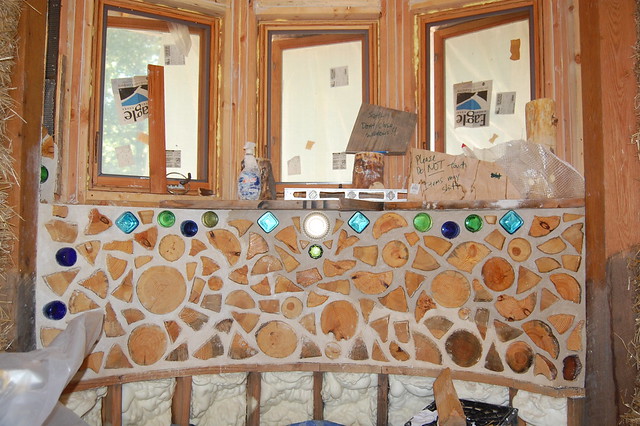
The dining room with bottles.


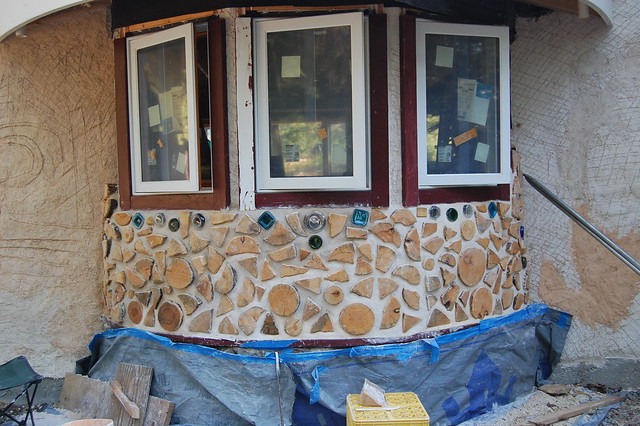
The dining room seen from the outside.


The dining room seen from the inside.