
The shingles are made of 80% post-consumer vinyl and are warranted to last 50 years.
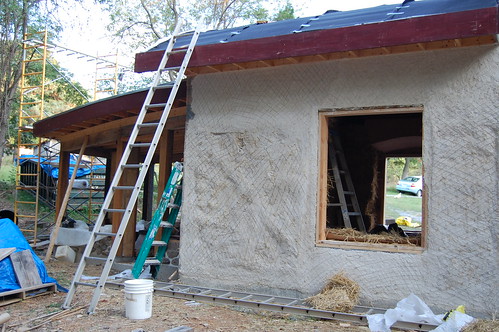
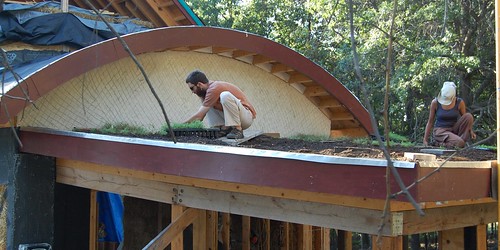
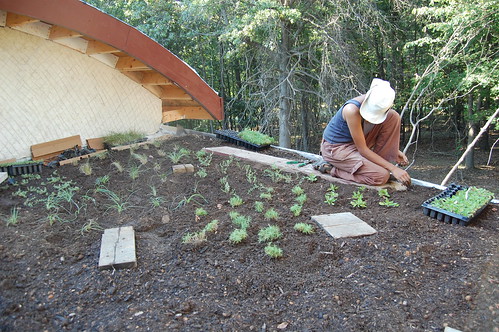
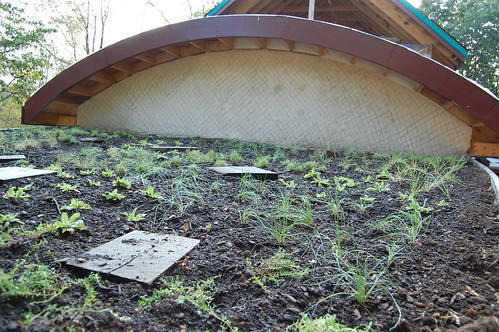
Click on any image below to enlarge it a bit.
 David braces the ladder for Marshall as he takes the platform up.
 David and Marshall set the other end of the platform.
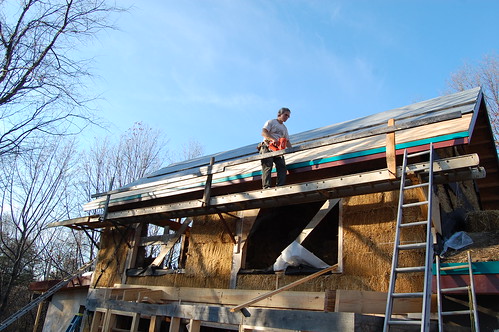 Marshall adjusts the platform. He'll use this to start the south side of the roof.
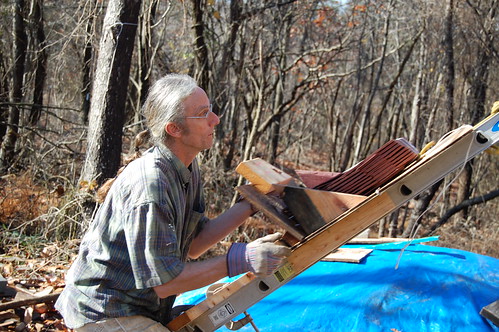 Marshall made a 'shingle sled' that David and I used to run shingles up a tilted ladder.
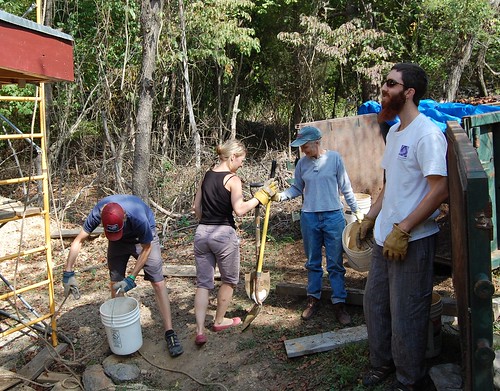
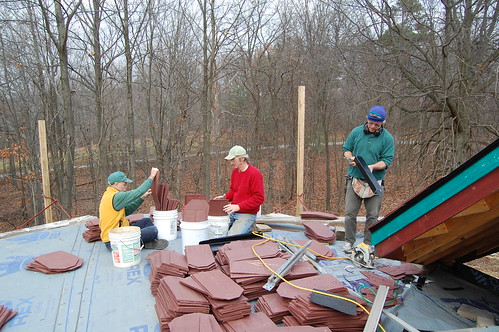 Shingles needed to be blended (to avoid bad color distribution on the roof) and also bent for optimal installation. Here we are on the staging area, the north roof is to the right, next to Marshall.
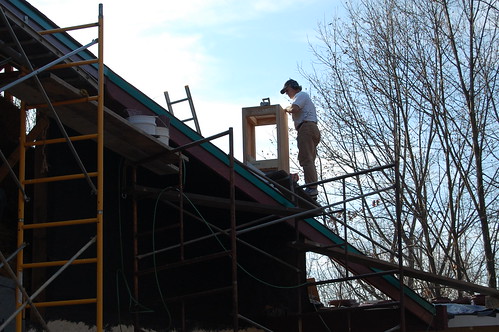 After completing the south roof in two days (Monday-Tuesday) there was a lot more preparation (and rain) for the north roof. Here Marshall built a vent pipe chimney to allow plumbing, solar hot water, and photo voltaic pipes to be installed in the future without having to drill into the roof later on. Brilliant.
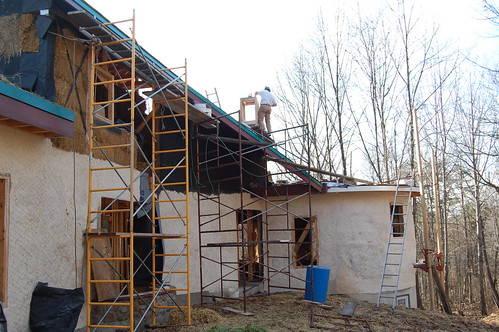 Scaffolds on the north side with Marshall building the chimney, seen from below.
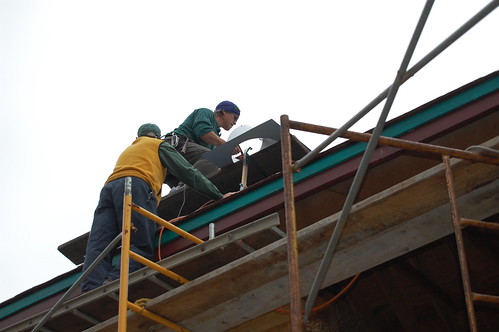 Billy assists Marshall as he drills a hole for our masonry stove pipe.
 From the west, a shot of Billy assisting Marshall as he drills a hole for our masonry stove pipe.
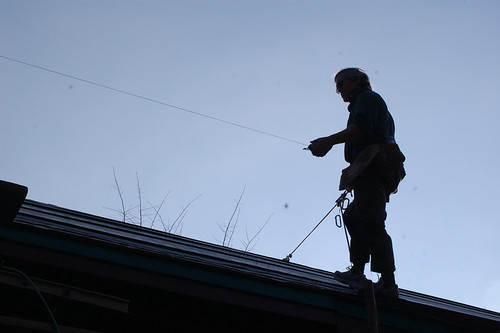 Marshall, roped up and snapping a line. Ready to shingle.
 Billy walks the plank, helping to snap a line across the roof.
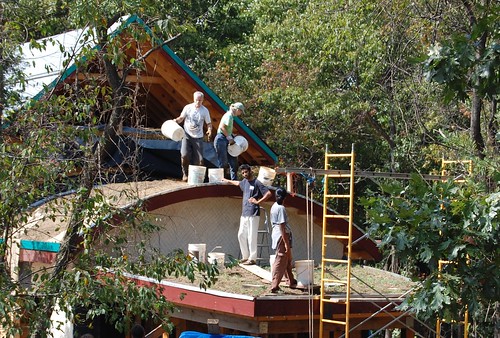
 Overcoming her discomfort with the height and exposure of the platform, Linda worked on the south side applying waterproof layers to the roof beams...
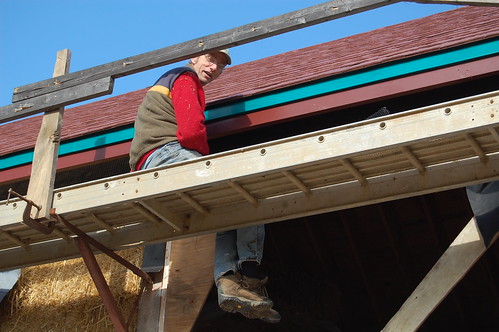 Scot then attached the lathe...
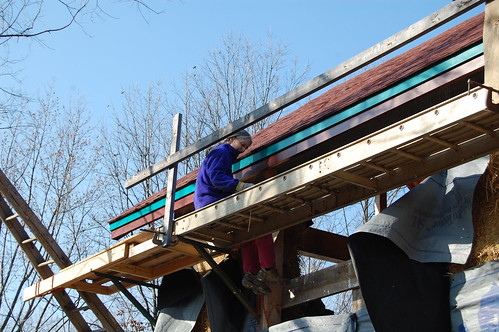 .. and Linda went back up to apply lime plaster.
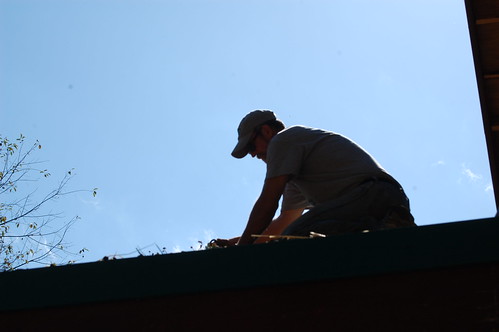
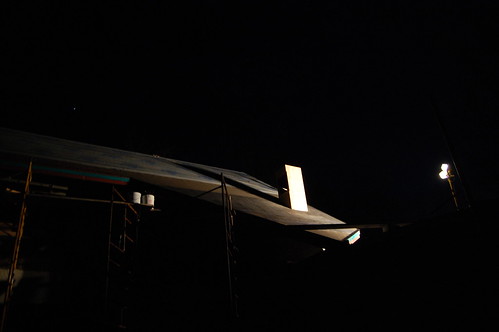 There were a few late nights, roofing by flood lamp and head lamp.
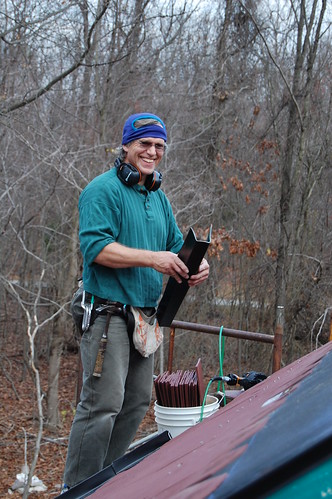 Marshall custom fitting a water diverter.
 Marshall planning out the next phase of the installation.
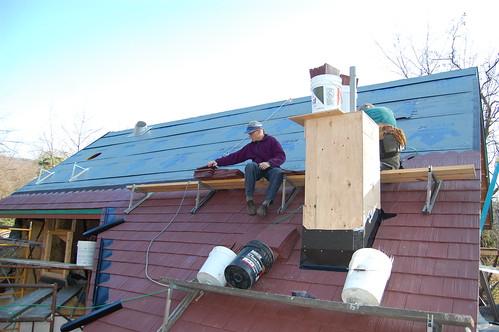 Billy assists by staging and passing shingles while Marshall nails.
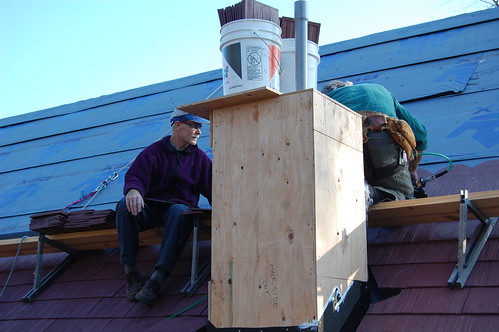 Closer: Billy assists by staging and passing shingles while Marshall nails.
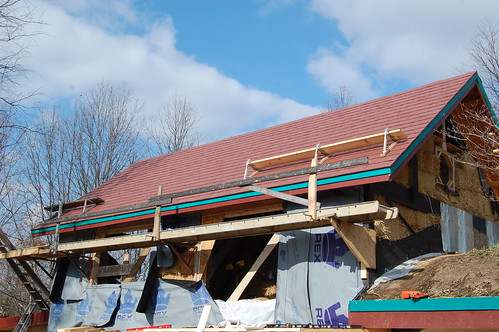 A shot of the south roof, complete except for the ridge tiles.
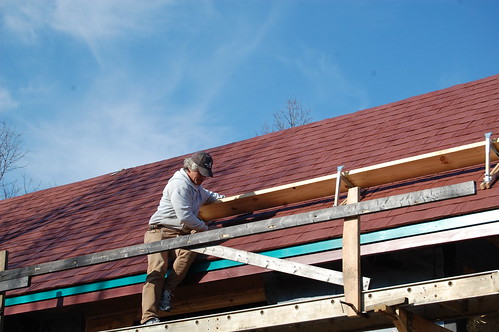 Marshall removing a final bracket from the south roof.
Some photos of the finished product will be posted soon. More to come.


