In early June, 2011, the seventh grade science class from Capitol Hill Day School came for a visit and tour. We don't have many photos of the tour, but the cob mixing and earth roof work is what the students will probably remember anyway!
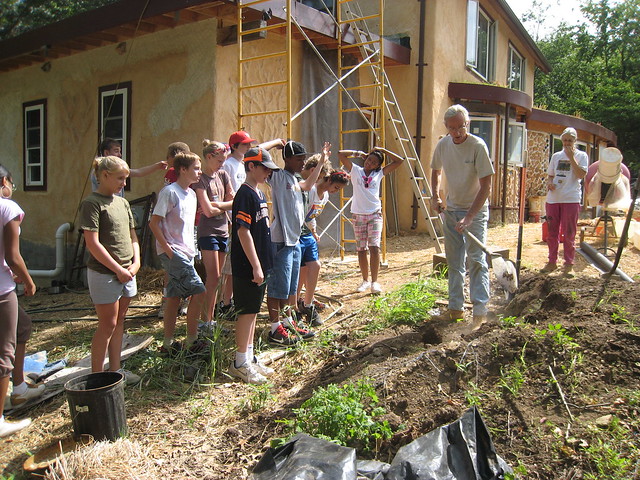
 Scot explains the efficiency of the masonry stove.
After a fairly long tour and lots of questions about insulation, thermal mass, electric setup, etc, we had the 7th graders haul about 40-50 buckets of compost onto the last big earth roof. We had previously set up a scaffold and pulley system. Students loaded buckets, then pulled from below while others took the buckets and distributed the compost around the roof. Lots got done!
 Digging up the compost.
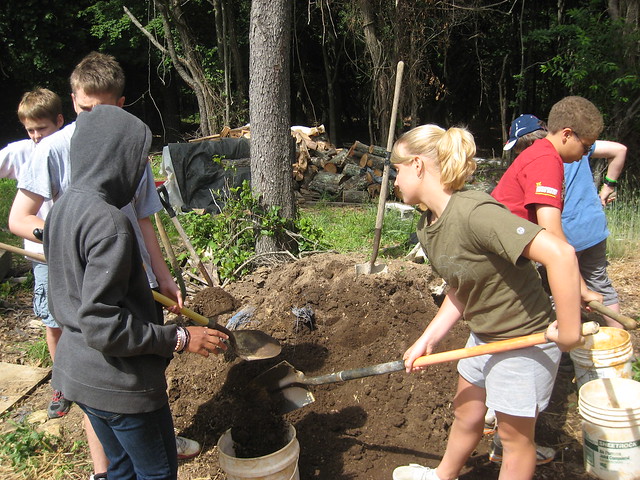 Digging up the compost.
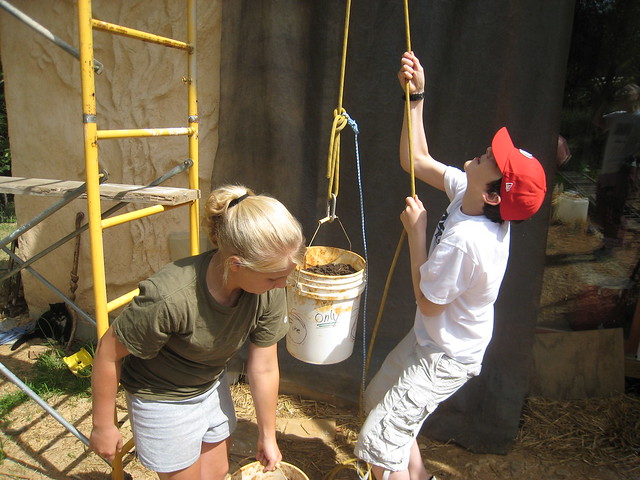 Using the pulley to haul compost up.
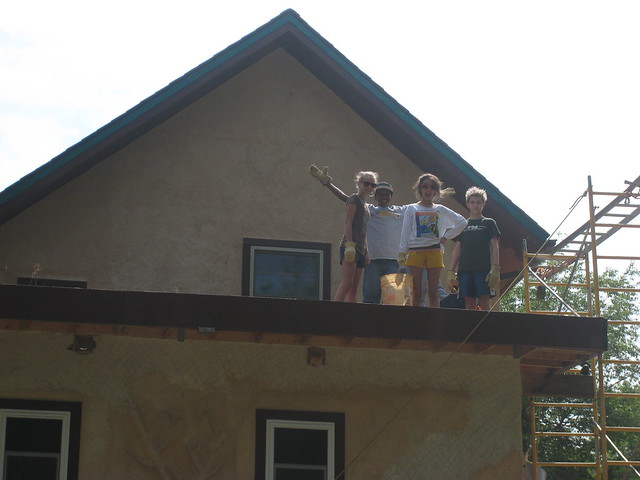
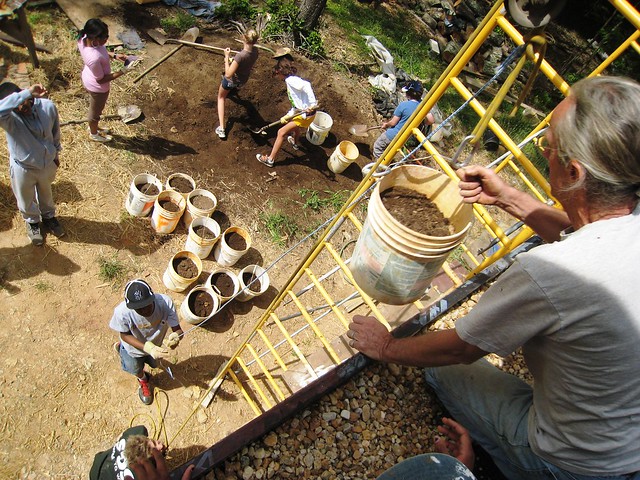 View from the top of the pulley system. The scaffold simply holds a horizontal ladder which in turn holds the large pulley.
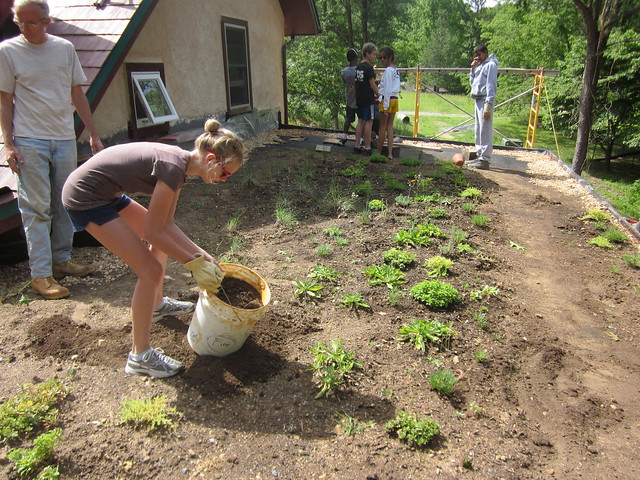 Once up on the roof, students distributed the compost.
Plants are there from a previous planting.
 They acted like it was a lot of work, but they had a lot of fun, too.
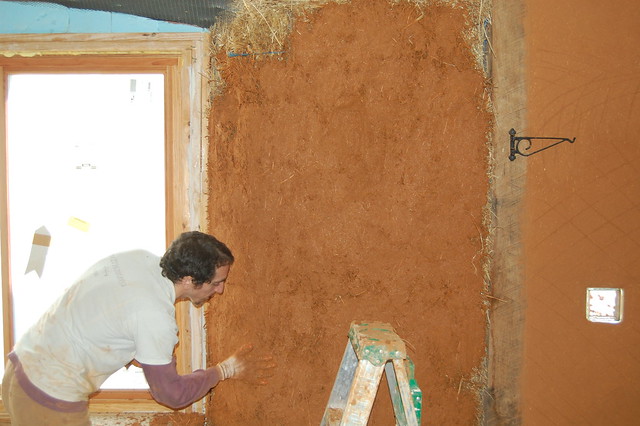
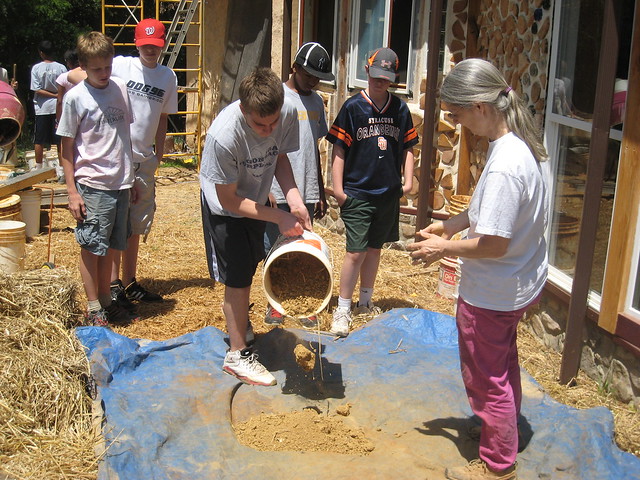 After lunch we mixed some cob with our feet and built some supports for a small bench in the entry way. Here some boys add sand and clay.
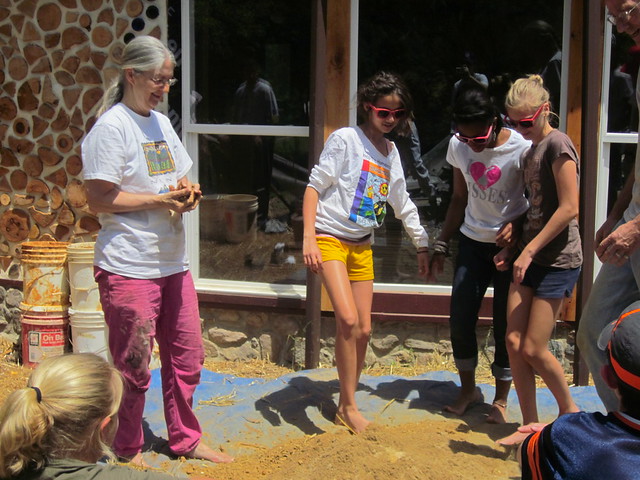 There is method to it. Linda instructs. Boys and girls mixed with their feet.
 The students enjoyed mixing. Lots of water and mud!
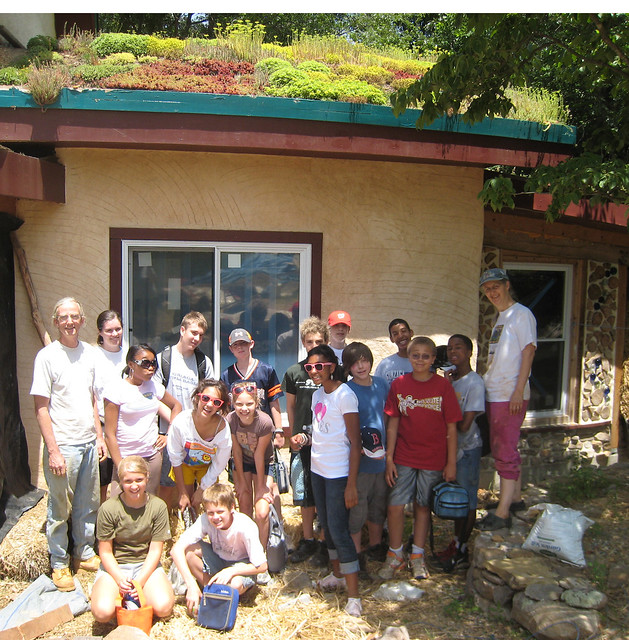 At the end of the day we got a group shot under the living room earth roof.