
 Above, the dining room area with cordwood, cob bench, the dining room wall, plastered stove pipe, and stone work around the base of the masonry stove.
 Same as above, but showing the first, rough coat of clay around the masonry stove.
 Farther around the stove, we built a wood storage area. Here we built an arch over that area, a visual link to the arch in the living room, the arch of the barrel roof, the curve of the entry wall, etc. Note the straw at the top. This is one of the few areas without an initial clay coat yet.
Now some shots of final coats....
 Once we detailed the curve of a straw bale wall as we wanted it, we put the final layer on. In this case, we used a white clay that was donated and added fine, sifted sand, wheat paste, and a green pigment. The result does not show well in the photos, but is a wonderful green that stops the flaking sand coming loose from the earlier layers.
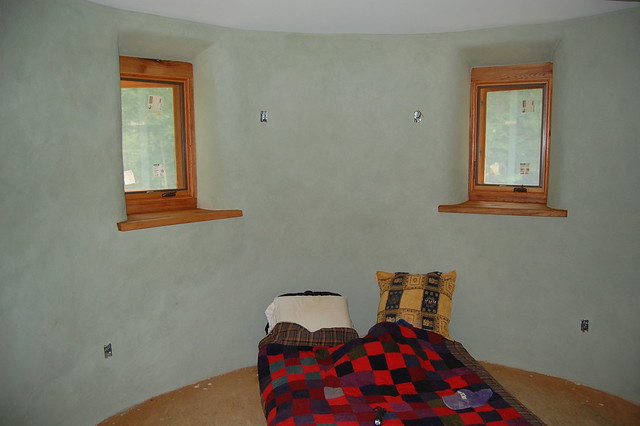
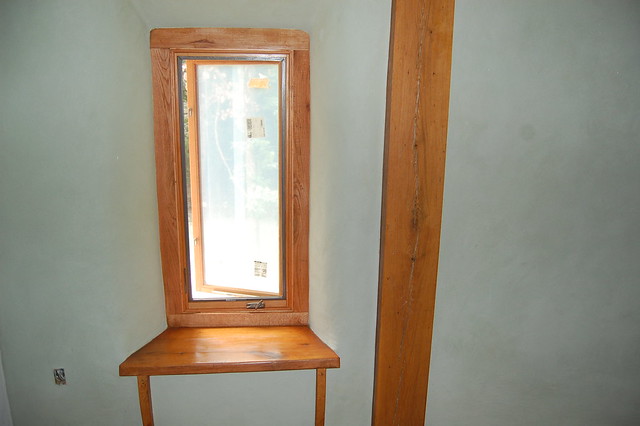 Here you see a window in the bedroom with window trim, an oak window seat, and the final plaster coat.
 A closer shot of a window with a deep, oak window sill. Plaster is final coat. As noted, the walls are greener in life than they appear in these photos.
No comments:
Post a Comment