Tuesday, July 31, 2012

2012: Pond created for animal habitat.


At the very end of June, we dug a small pond in front of the house.  The day we finished digging and placing the pond liner, a huge storm came through and filled it with rain water.   In a matter of days, dragonflies, butterflies and a frog were seen around the pond!  In less than a week we found about 200 frog eggs suspended in the water.  Less than a week after that, we discovered the tiny tadpoles swimming around.  Within a month of the digging, we have counted four species of frogs and have seen at least three distinct sets of eggs.

Pond, freshly dug.


We gathered about 75 stones from the surrounding land
to anchor the pond liner, as well as provide ledges and small hiding places on land and in the water.


We added some plants from a pond about a half mile away.  
These provide places for animals to hide, lay eggs, etc.


The insects started coming almost immediately.
Dragonflies were seen first, diving to drink the water.  
Their larvae were seen a few weeks later along the water bottom.  The larvae eat mosquito larvae that end up in the water.  (Photo by Denali DeGraf)


 Red Spotted Purple Butterfly


 Black Swallowtail Butterfly


 Bumblebee (Photo by Denali DeGraf)


Eastern Tiger Swallowtail Butterfly


Less than a week after digging, we saw this Green Frog hanging around.
(Hiding in those plants mentioned above.)

Soon thereafter.....
We found about 200 frog eggs in the water.


 Less than two weeks after digging, we had tadpoles!


The tadpoles ate and quickly grew.


And then we started seeing other species.
 Pickerel Frog


Gray Tree Frog (these guys are LOUD!)


 Wood Frog

Eastern American Toad


 A juvenile Green Frog


Green Frog
(This was the first frog we sighted, and we think is the mama of the 200 tadpoles.)


Monday, July 30, 2012

From the Fall 2010: Building of the Earth Roof.


Attention to detail is extremely important in making sure that the roof will remain waterproof.
One small oversight and water will find its way into the house.

 The plywood is cleared of nails and swept of dust.  
Then the waterproof membrane is laid down....very carefully.
It is shingled from the low sections up, overlapping layers at least 3 inches.


 The curved section is laid down.


The entire roof is now covered with the waterproof membrane.


 All the overlapping seams are sealed.
Note that the waterproof membrane runs up the vertical wall on the right.


 As a cheap, final insurance, a seamless sheet of 6 mil poly is laid down on top.


On top of that, a drainage layer is laid.  
This has a filter cloth that keeps soil from clogging things up,
and allows water to travel quickly downhill to drains.


The photo above shows the waterproof membrane (shiny black), the seamless poly 
(White on the left and right....cut wide around the drainage hole.)
the drainage layer (closest to you), and a screen poking out of the drainage hole to keep leaves out.

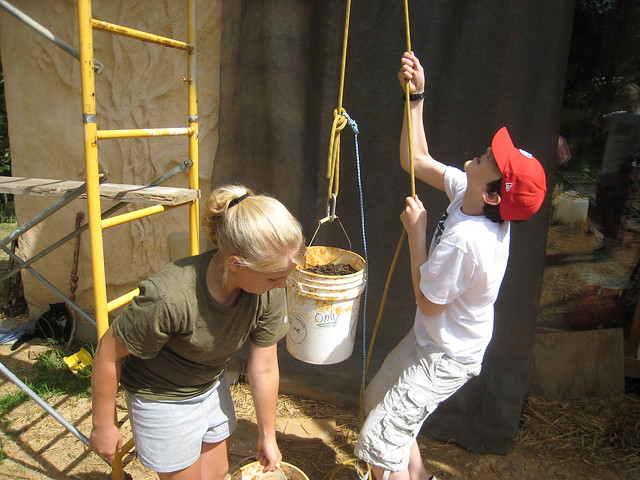
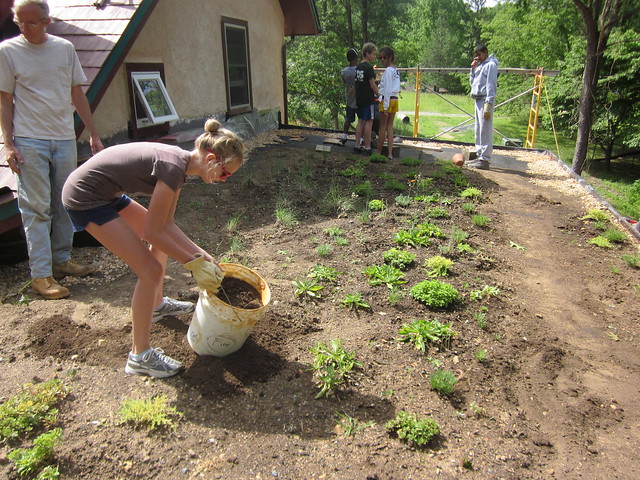
We then hauled (or had others haul) over 400 buckets of compost and topsoil.


And planted the roof.


Sunday, July 29, 2012

Summer 2012. Guest room floor, cordwood.

In late spring we started the earthen floor in the guest room.  We started with about 5 inches of gravel.  We leveled that carefully, then added 3 inches of rigid insulation (to keep the cold ground from bleeding into the room.)  On top of that, we added another 4 inches of sand, carefully leveling that as well.  There will be three layers of clay/sand mix that will constitute the actual floor.  The floor will be hardened by applying coats of linseed oil.


Rigid insulation installed and leveled.


Sand going over the insulation....


The sand is leveled.  
plywood is there to allow me to work on the sand without making deep footprints.


One and a half inches of clay, laid down on the sand layer.  Further layers to come.

Once the floor hardened
(about six weeks of drying time)
 we put up the final small cordwood wall.  We had some help from Alexor and Joelle.  Here are a few shots of he work.  The bright blue you see in the photos is tape to protect the bottle ends while we put them in the wall.


June 2012 Living Room final plaster


In June we had a workshop with Sigi Koko and put a finish coat on the living room walls...a gold clay over the earthen colored primary coats.  Here are photos of the weekend and beyond.

Mixing plaster on a tarp.


 Sigi putting gold plaster on the arch over the window.


 Plastering.


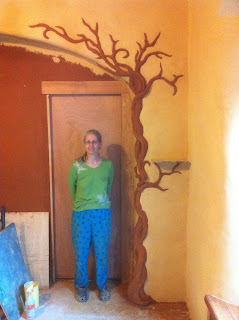
Gold plaster is carefully added around a clay tree already in the wall.


Spring 2012. Shower mosaic


 Spring 2012:  Linda and I worked together to cut and place a mosaic of cattails and water.    First, we waterproofed the floor, then poured concrete and waterproofed it.  We then laid tile and grout, later waterproofing them as well!


Linda is never happy when I want a picture.


Detail around a dragonfly tile.


Before grouting.


The floor, grouted.

Floor detail around the drain.

Showing some detail of the cuts required and installation.

More details.

Wall and floor.