In late fall we began work on a retaining wall, but when winter really set in, we started work -inside - on the masonry stove and the stone bench around it.
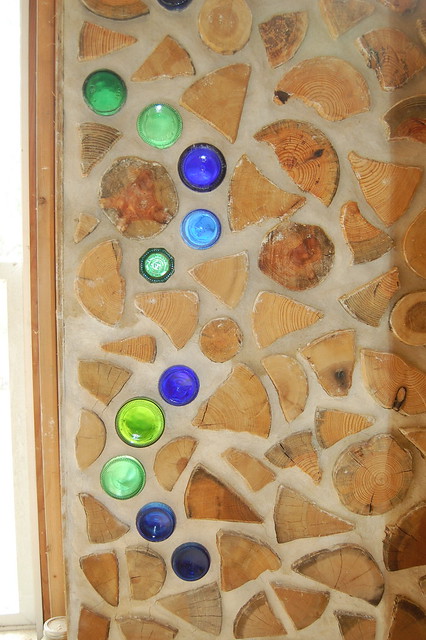
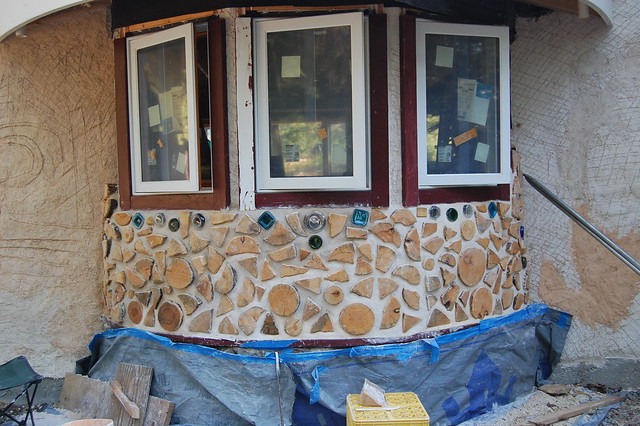
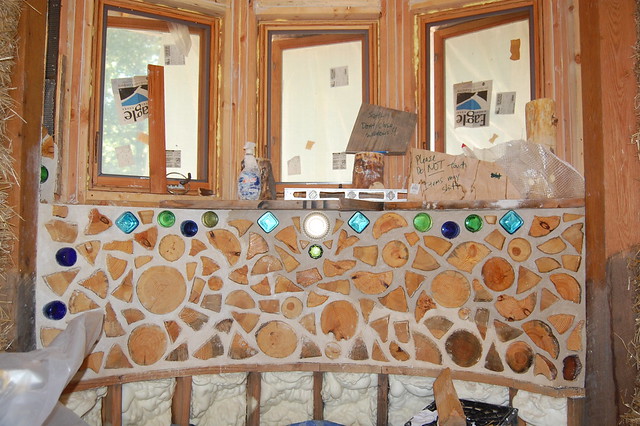
First some shots of the stone wall. Solid as can be, but made to appear like dry stack.
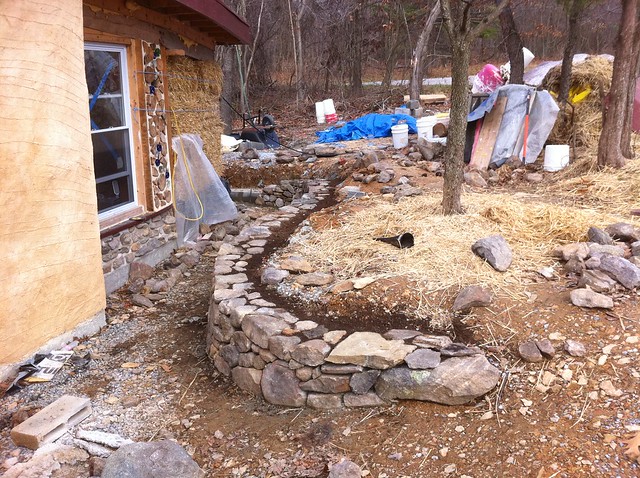
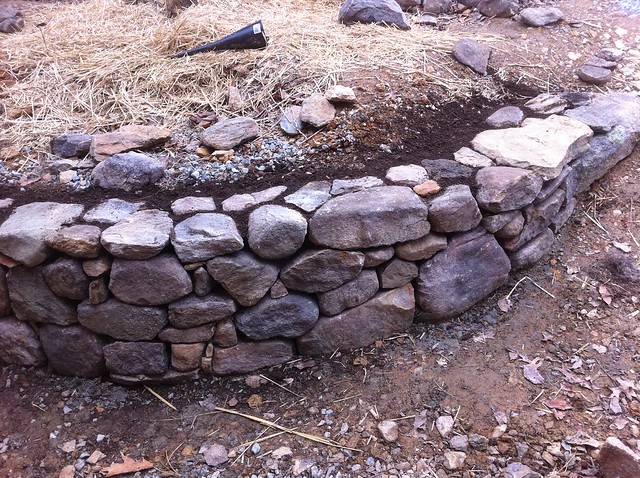

We are really happy with how it is turning out.
Earlier in 2010 we got a masonry stove kit. Our good friend, Marshall, came down from NH to help Scot put it together. (He was the brains and the muscle of the operation!)

 Scot moved it all inside ahead of time, we put it together 'dry' to make sure there were no surprises, then mortared it all together the next day.
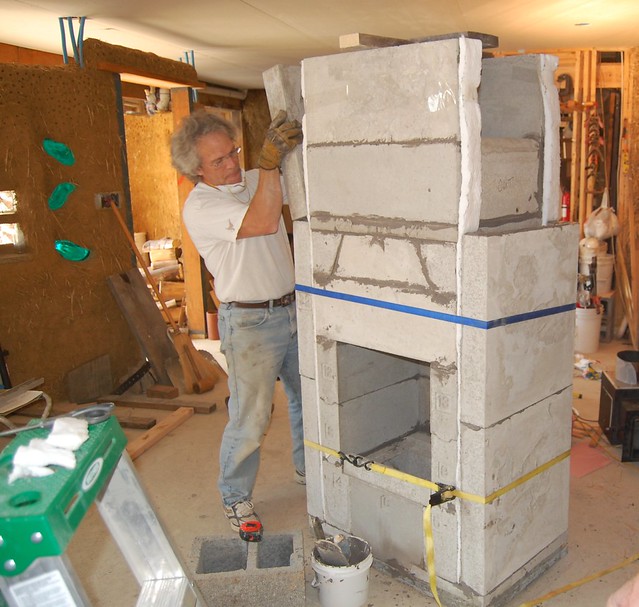 Marshall lifts a 125 pound block onto the unit. Easier alone than with Scot 'helping.'
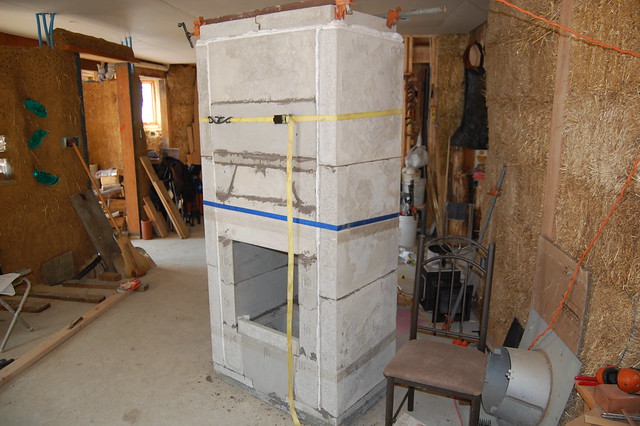
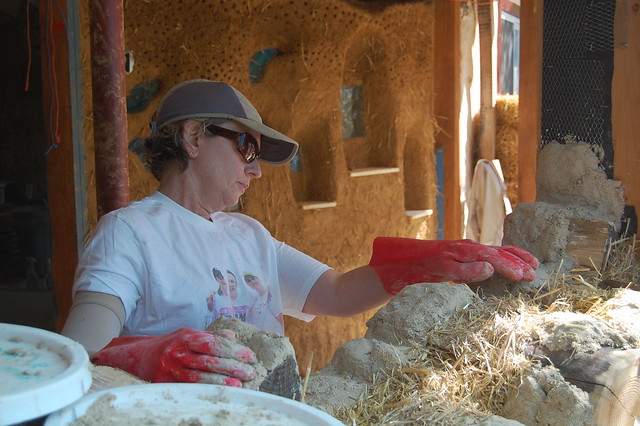
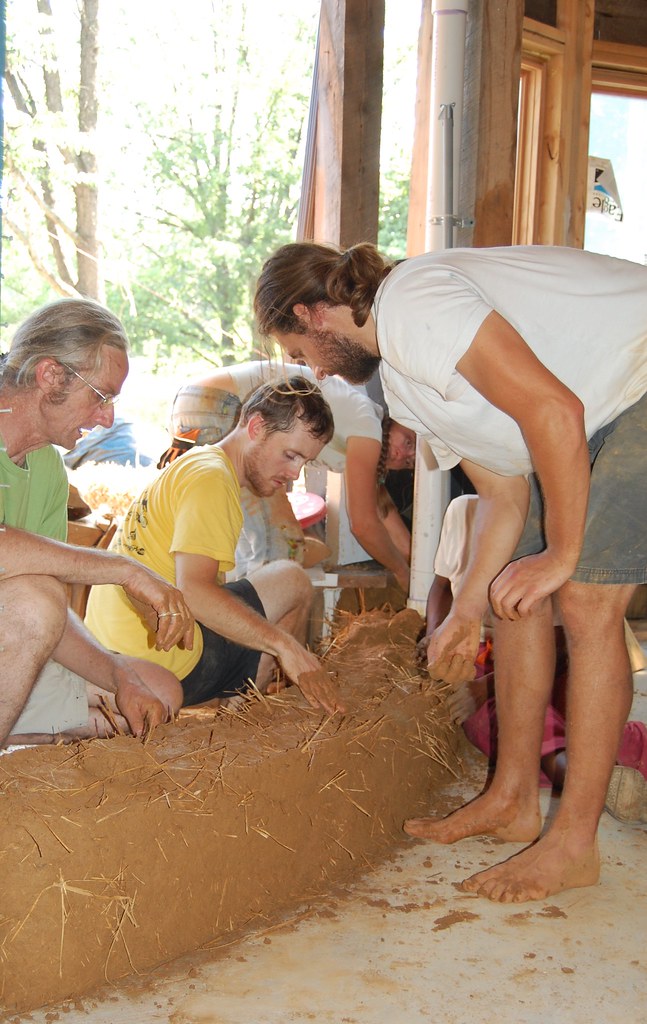
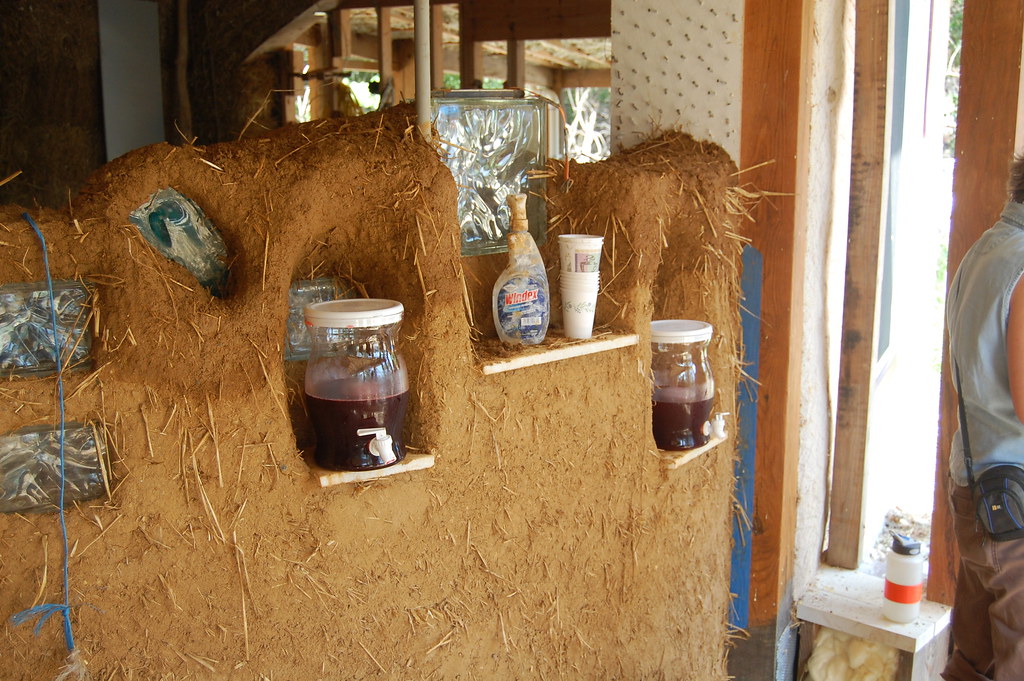
Before it can be fired up, it must be covered with at least 4 inches of brick, stone, clay, or similar material. We will have a mix of cob and stone. What follows are photos of the process for covering the Masonry stove exterior. The stone bench being built below and the cob to follow will provide a warm place to sit around the hearth, and will increase the total weight of the stove - and hence its ability to store heat - to close to 5,000 pounds.
Cardboard around the stove - seen in photos below - is there to provide an expansion joint between it and the cob that will surround it.
Scot moved it all inside ahead of time, we put it together 'dry' to make sure there were no surprises, then mortared it all together the next day.Marshall lifts a 125 pound block onto the unit. Easier alone than with Scot 'helping.'Before it can be fired up, it must be covered with at least 4 inches of brick, stone, clay, or similar material. We will have a mix of cob and stone. What follows are photos of the process for covering the Masonry stove exterior. The stone bench being built below and the cob to follow will provide a warm place to sit around the hearth, and will increase the total weight of the stove - and hence its ability to store heat - to close to 5,000 pounds.
Cardboard around the stove - seen in photos below - is there to provide an expansion joint between it and the cob that will surround it.
 Early December, 2010:
Lots of details work had to be done to get the air intake door set correctly.

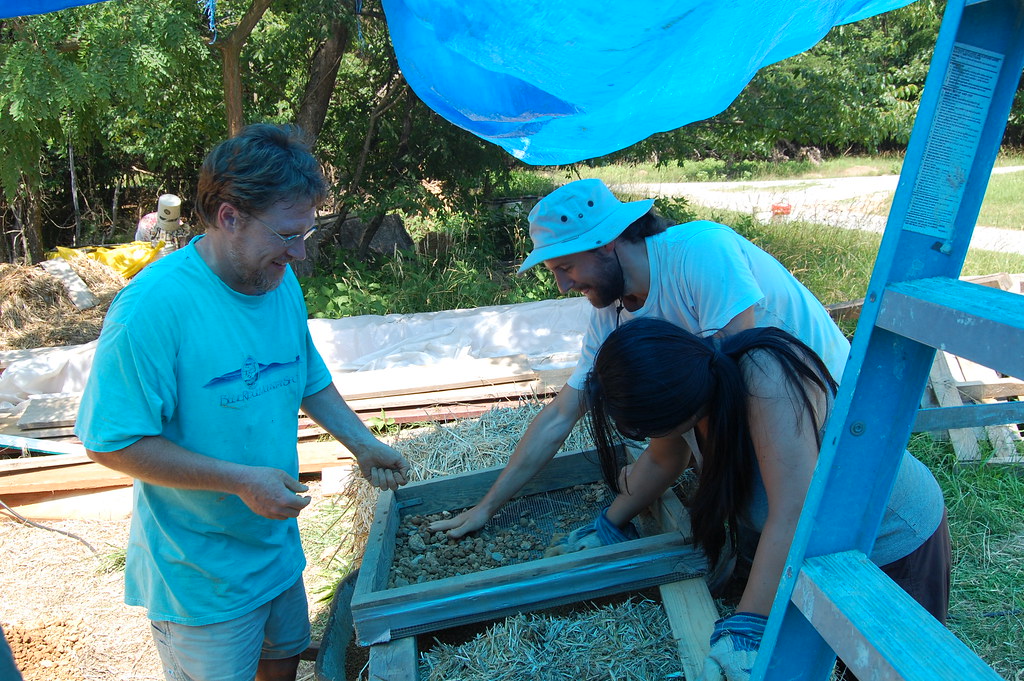
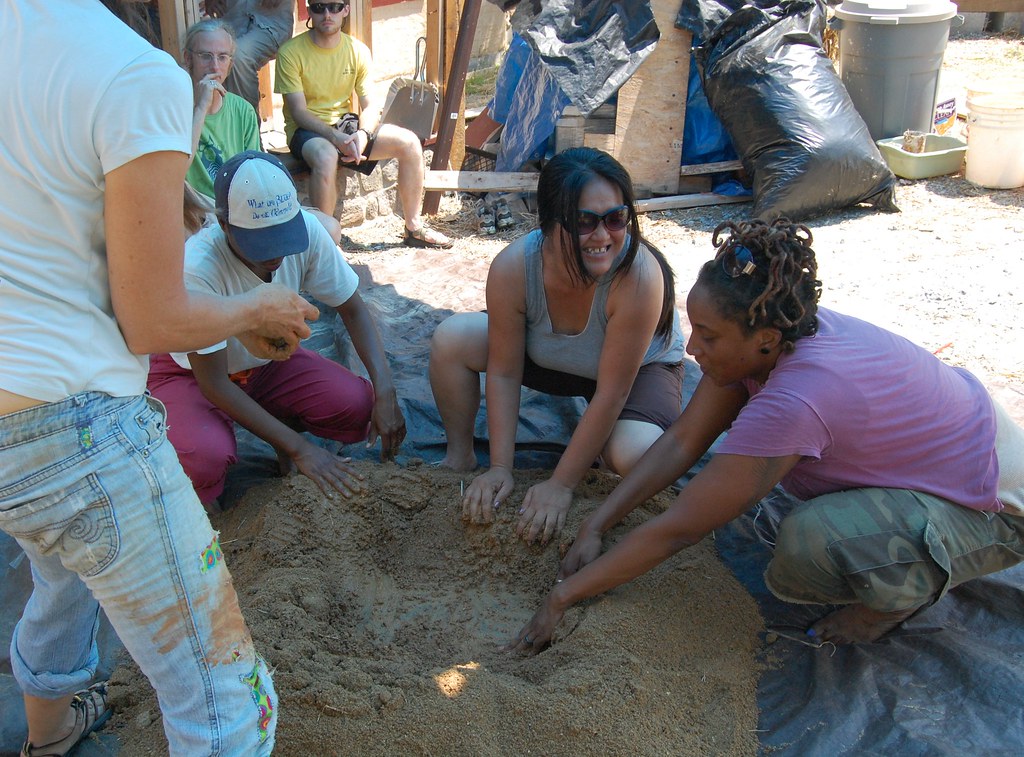
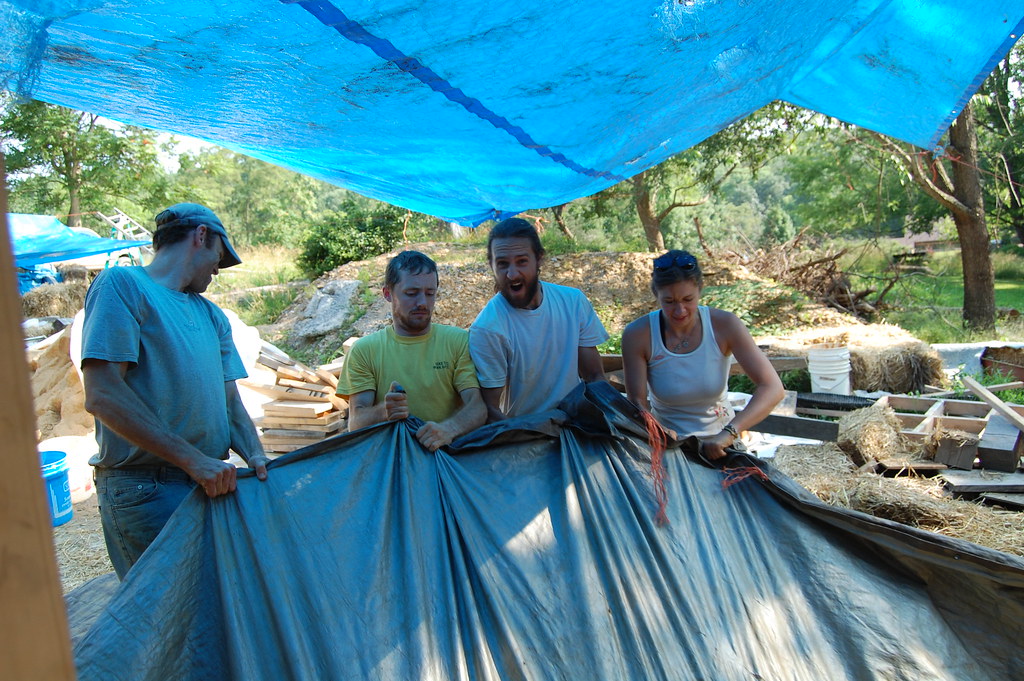
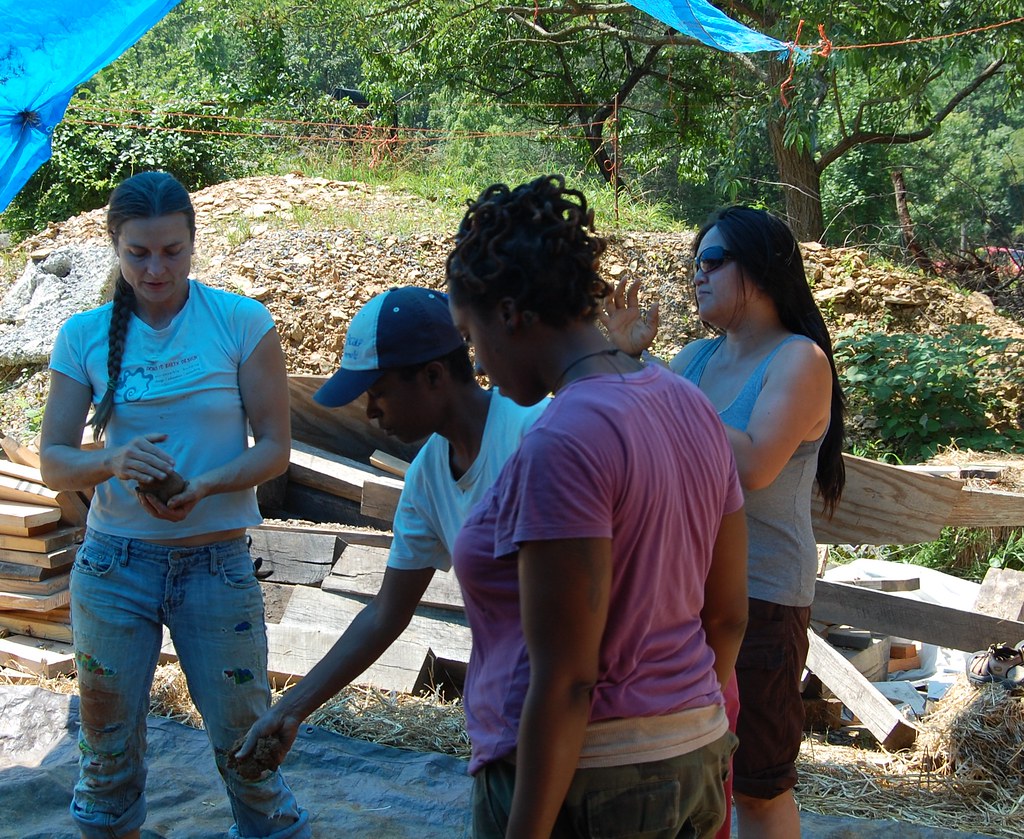
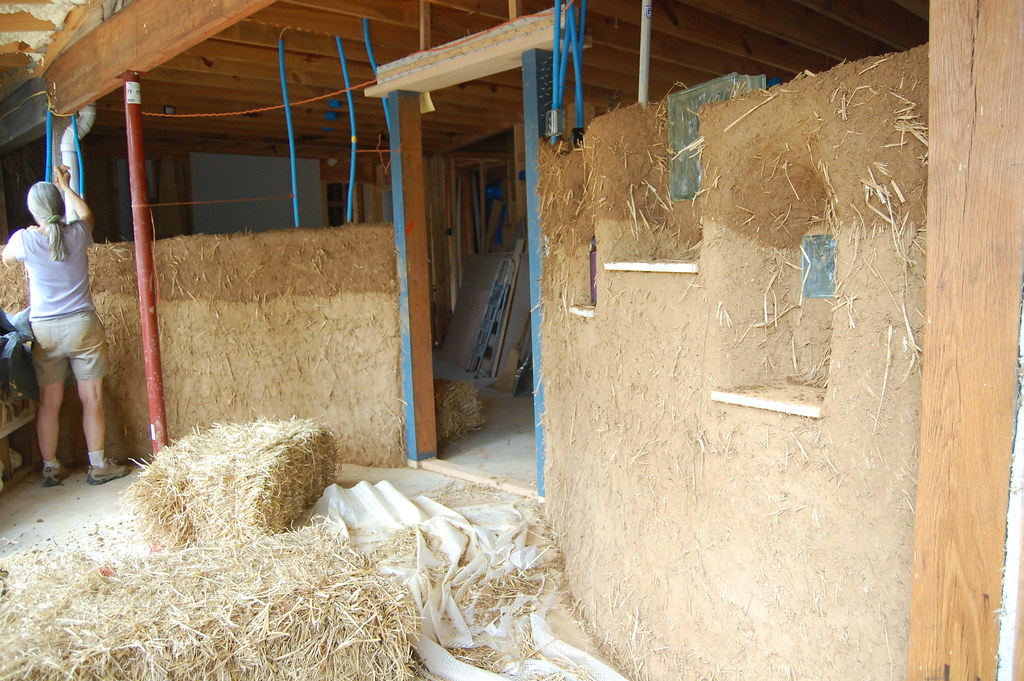
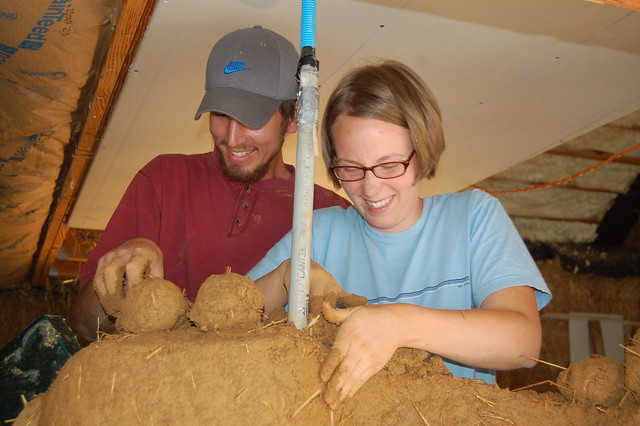
Mixing cob with your feet is a lot harder in the winter time!
But the stone started to go up.
But the stone started to go up.
 Around December 23rd:
After about 5 days work for two people, this is what is done on the stone bench.
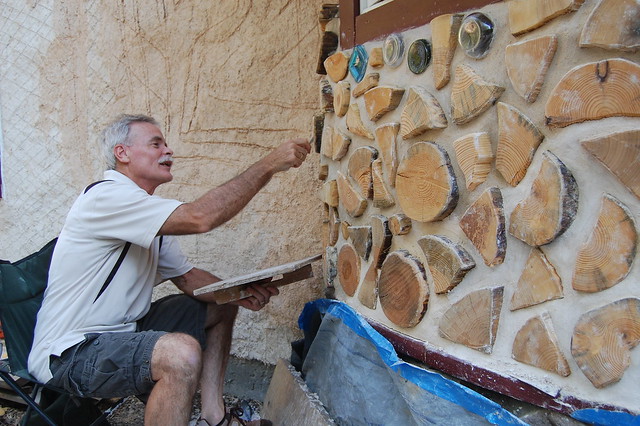
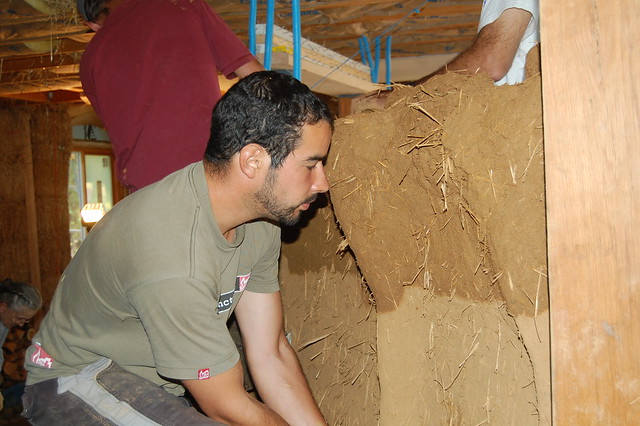
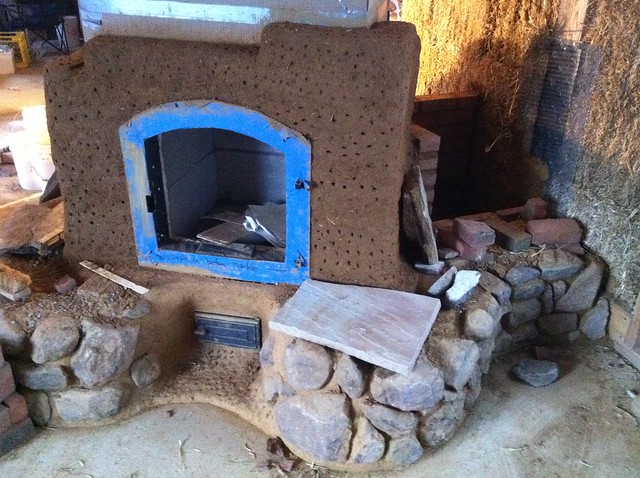 Then the door frame (with painter's tape to keep it clean) was anchored to the core, and cob went up the walls, .....
 January 2011: The stone bench continues around the back,
with chimney being covered in cob as well. All this mass (4000-5000 pounds) will store heat in the winter, and cool in the summer.
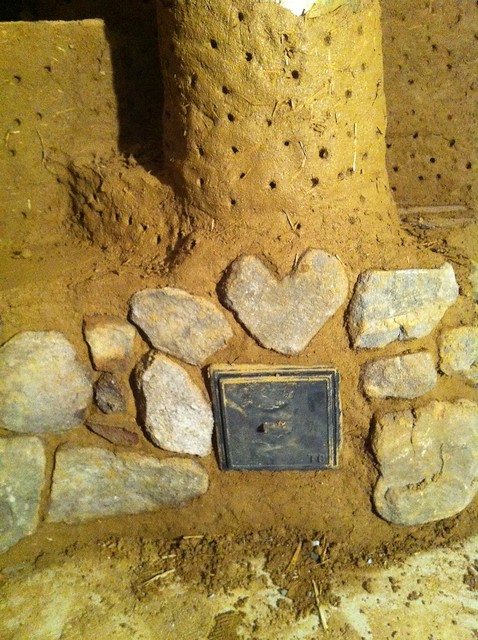 The back, clean out door, with a heart shaped stone found in the woods.
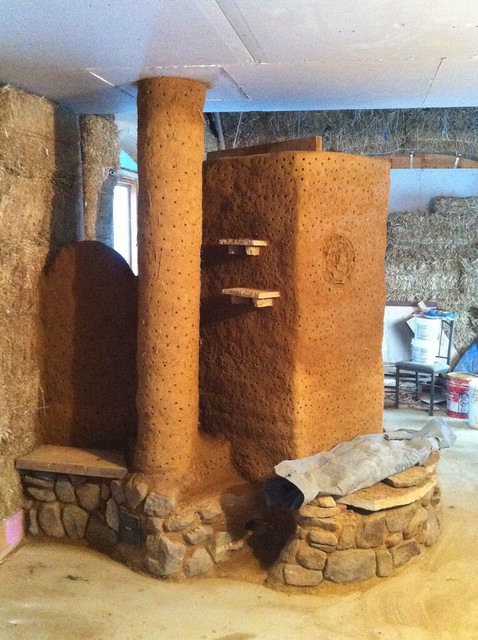 With most of the primary cob work done.. from the back.
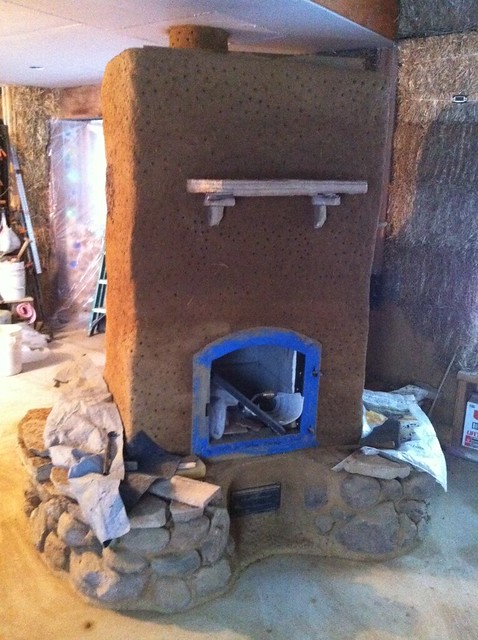 Most of the primary work done, from the front.
The stove is a wonder! Two short fires a day keep the whole house VERY warm in winter.
AND... as of early December 2010 we now have toilet facilities:
 Upstairs it looks fairly normal except that is has no water tank. This will obviously help with water conservation.
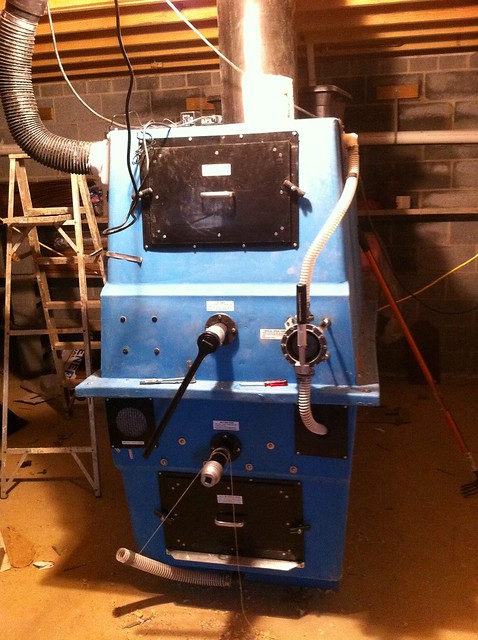 In the basement, the elaborate composting unit. It will allow nearly two years of use without emptying.