2009, August/Sept:
Stone, Lime Plaster, and Living Roofs.
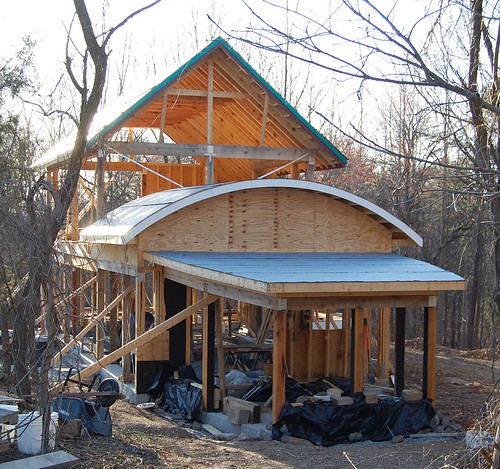
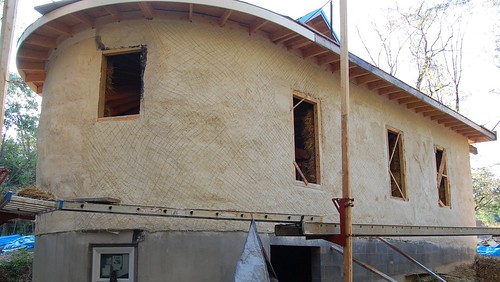 West end with first coat of lime plaster, taken from the northwest at the end of September, 2009.
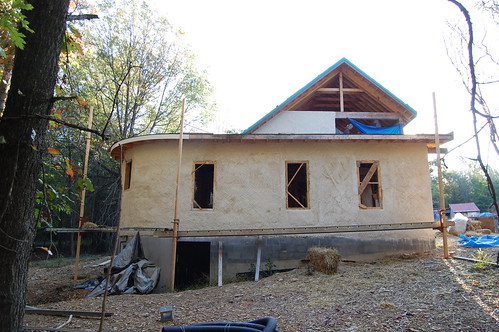 West end at the end of Sept 2009... and a little surrounding mess!
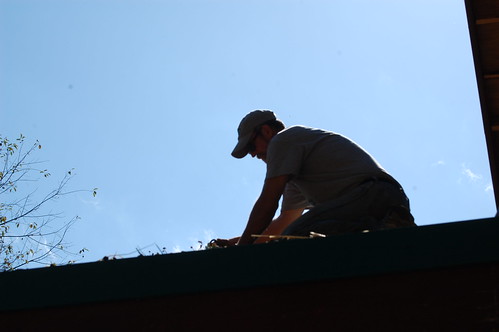 Marty planting on the barrel roof, the 2nd earth roof.
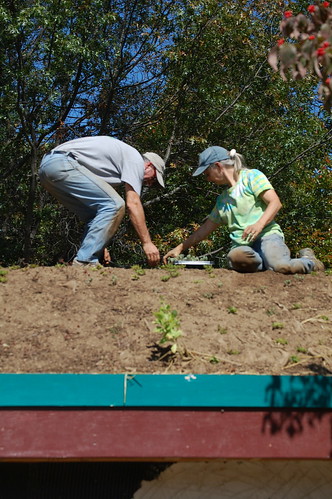 Marty and Linda planting on the barrel roof.
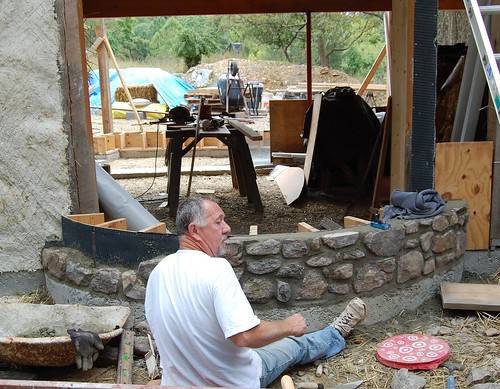 Mike Parsons working on the dining room stone wall.
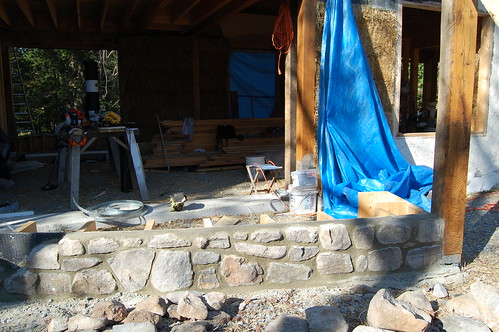 Mike's work on the south, entry wall.
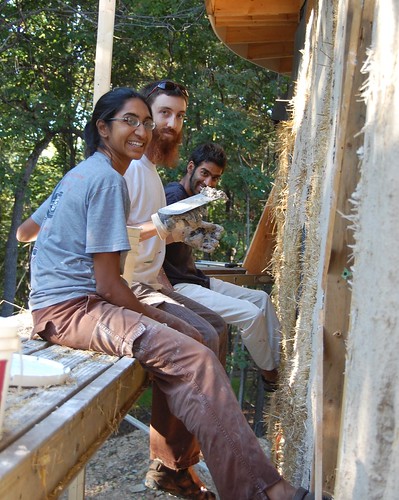
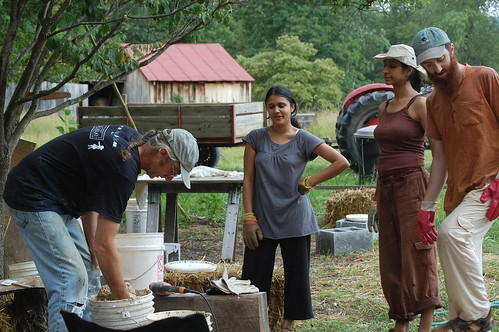
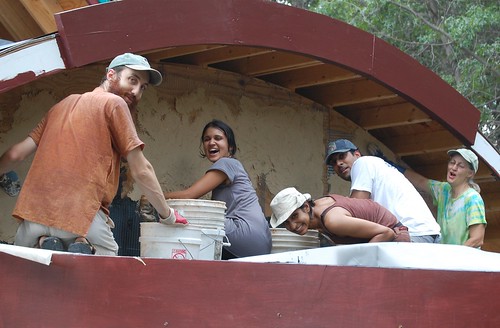
Mali, Denali and Ankur applying lime plaster to the west wall.
 Linda plastering the west wall. Note the early 'tree' being placed in the plaster.
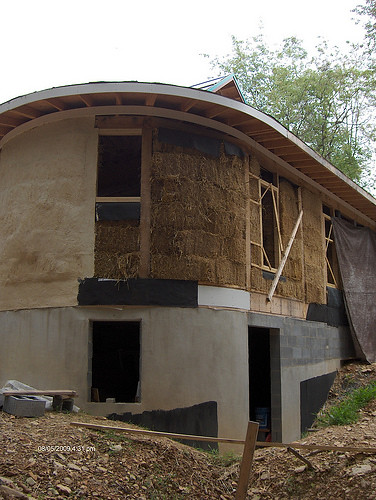 The bedroom wall mid Sept 2009: This shows a couple of phases at once.... One side straw, the other with a first coat of lime plaster.
Stone, Lime Plaster, and Living Roofs.
West end with first coat of lime plaster, taken from the northwest at the end of September, 2009.West end at the end of Sept 2009... and a little surrounding mess!Marty planting on the barrel roof, the 2nd earth roof.Marty and Linda planting on the barrel roof.Mike Parsons working on the dining room stone wall.Mike's work on the south, entry wall.Mali, Denali and Ankur applying lime plaster to the west wall.
Linda plastering the west wall. Note the early 'tree' being placed in the plaster.The bedroom wall mid Sept 2009: This shows a couple of phases at once.... One side straw, the other with a first coat of lime plaster.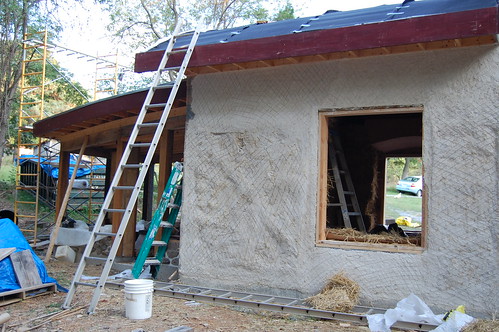 North wall of the living room with first layer of lime plaster.
The window hole is 4' X 5'.
 Living room, south wall before plastering. (note the waterproof and drainage layers have been applied to the barrel roof.)
 The same wall with a partial first layer of lime plaster. The window - facing south - is 5' X 5'. Now the roof has soil and burlap on it.
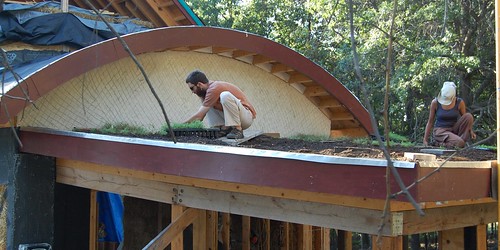 Denali and Mali beginning to plant on the guest room roof.
Note the curved fascia boards above Denali's head, and the lime plaster wall behind.
 Denali planting some chives. Lime wall behind is scored in anticipation of another coat.
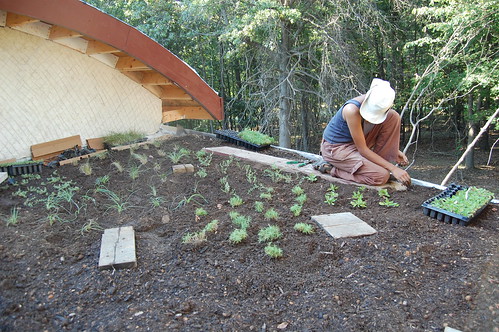 Mali planting some thyme.
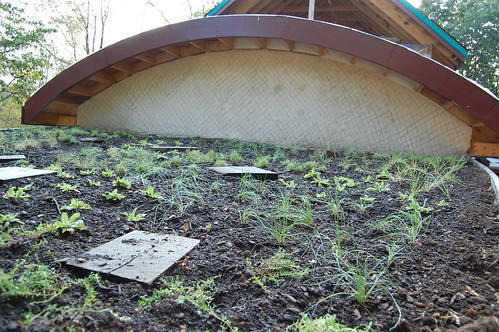 The guest room fully planted, with lime plaster wall behind coated twice. Now we wait and see how it grows.
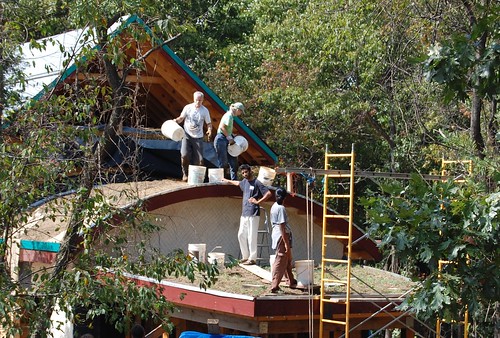 Mid September we had a small work party to haul soil up to the barrel roof. Billy, Linda, Ankur, and Mali on the roof while....
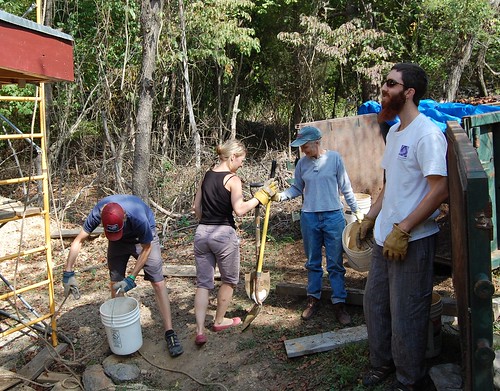 Drew, Liv, Lindsay, and Denali fill and hoist soil up.